Jira
Building a Jira integration
This tutorial will give an example of how to create a Jira integration that creates an issue from your app to your Linked account’s Jira Project.
Pre-requisites
- Jira App is enabled in Cobalt.
- Jira OAuth app credentials added to Cobalt. Refer here.
- Trigger created in Cobalt. Refer here.
- Linked Account available. Refer here.
Building a Workflow
We’ll create a Jira Workflow in Cobalt which can create an issue in a Project given by the user. For this, we’ll first find the project based on it’s name and then create an issue in it.1. Create Workflow in app
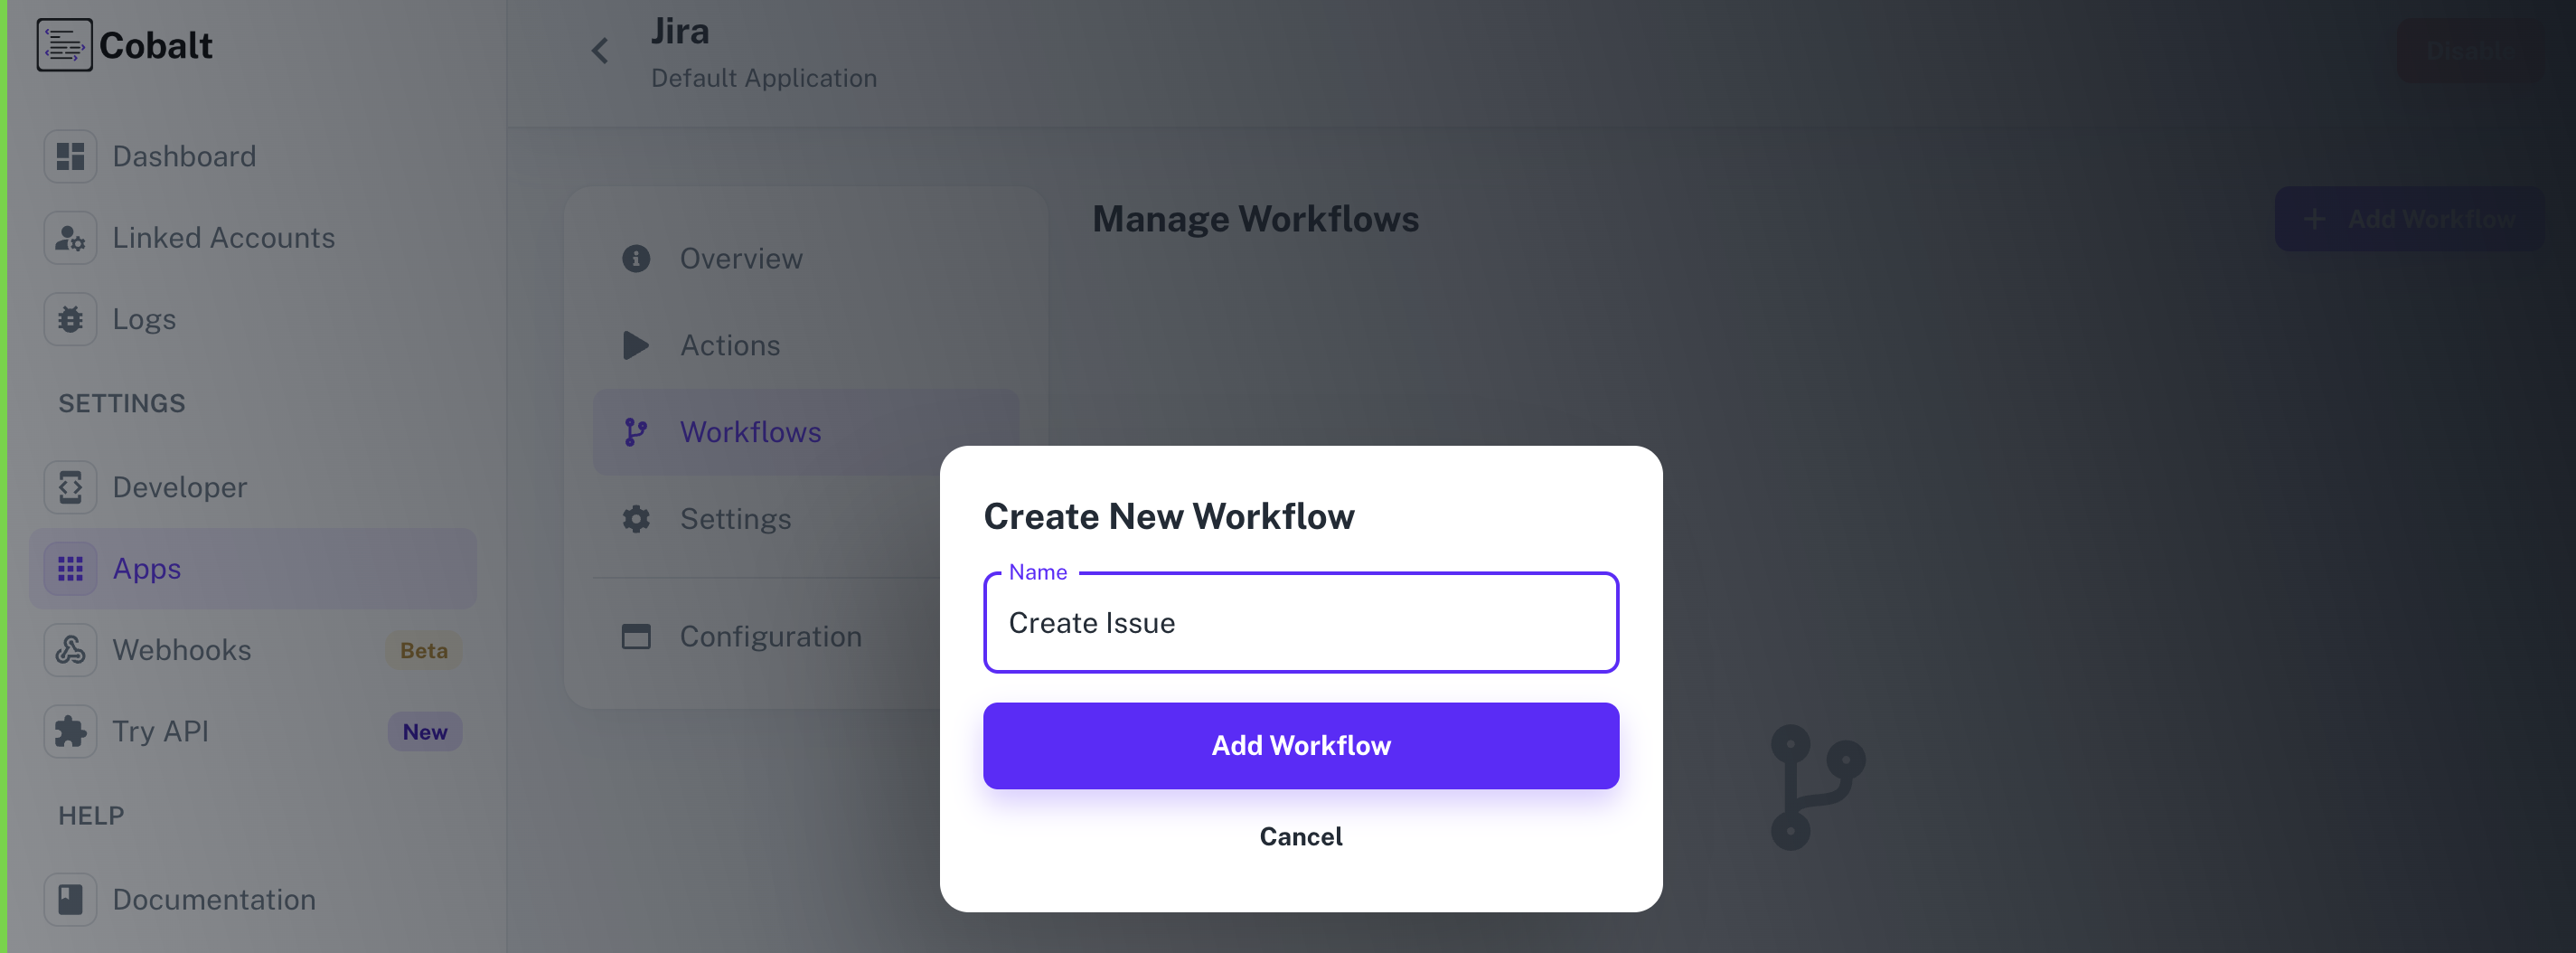
- Go to your
Apps catalogin Cobalt > Search forJira>Workflows>Add Workflow> ChooseManually> Give it a name and click onAdd Workflow.
2. Adding the Trigger
To add a trigger for a Workflow in Cobalt, you need to select details about the Trigger like the Type and which trigger to be implemented. To add a Trigger, follow these steps:- Click on the Start node to add a trigger.
- In the right side, select the Type and the Trigger and click on the
Add Triggerbutton.
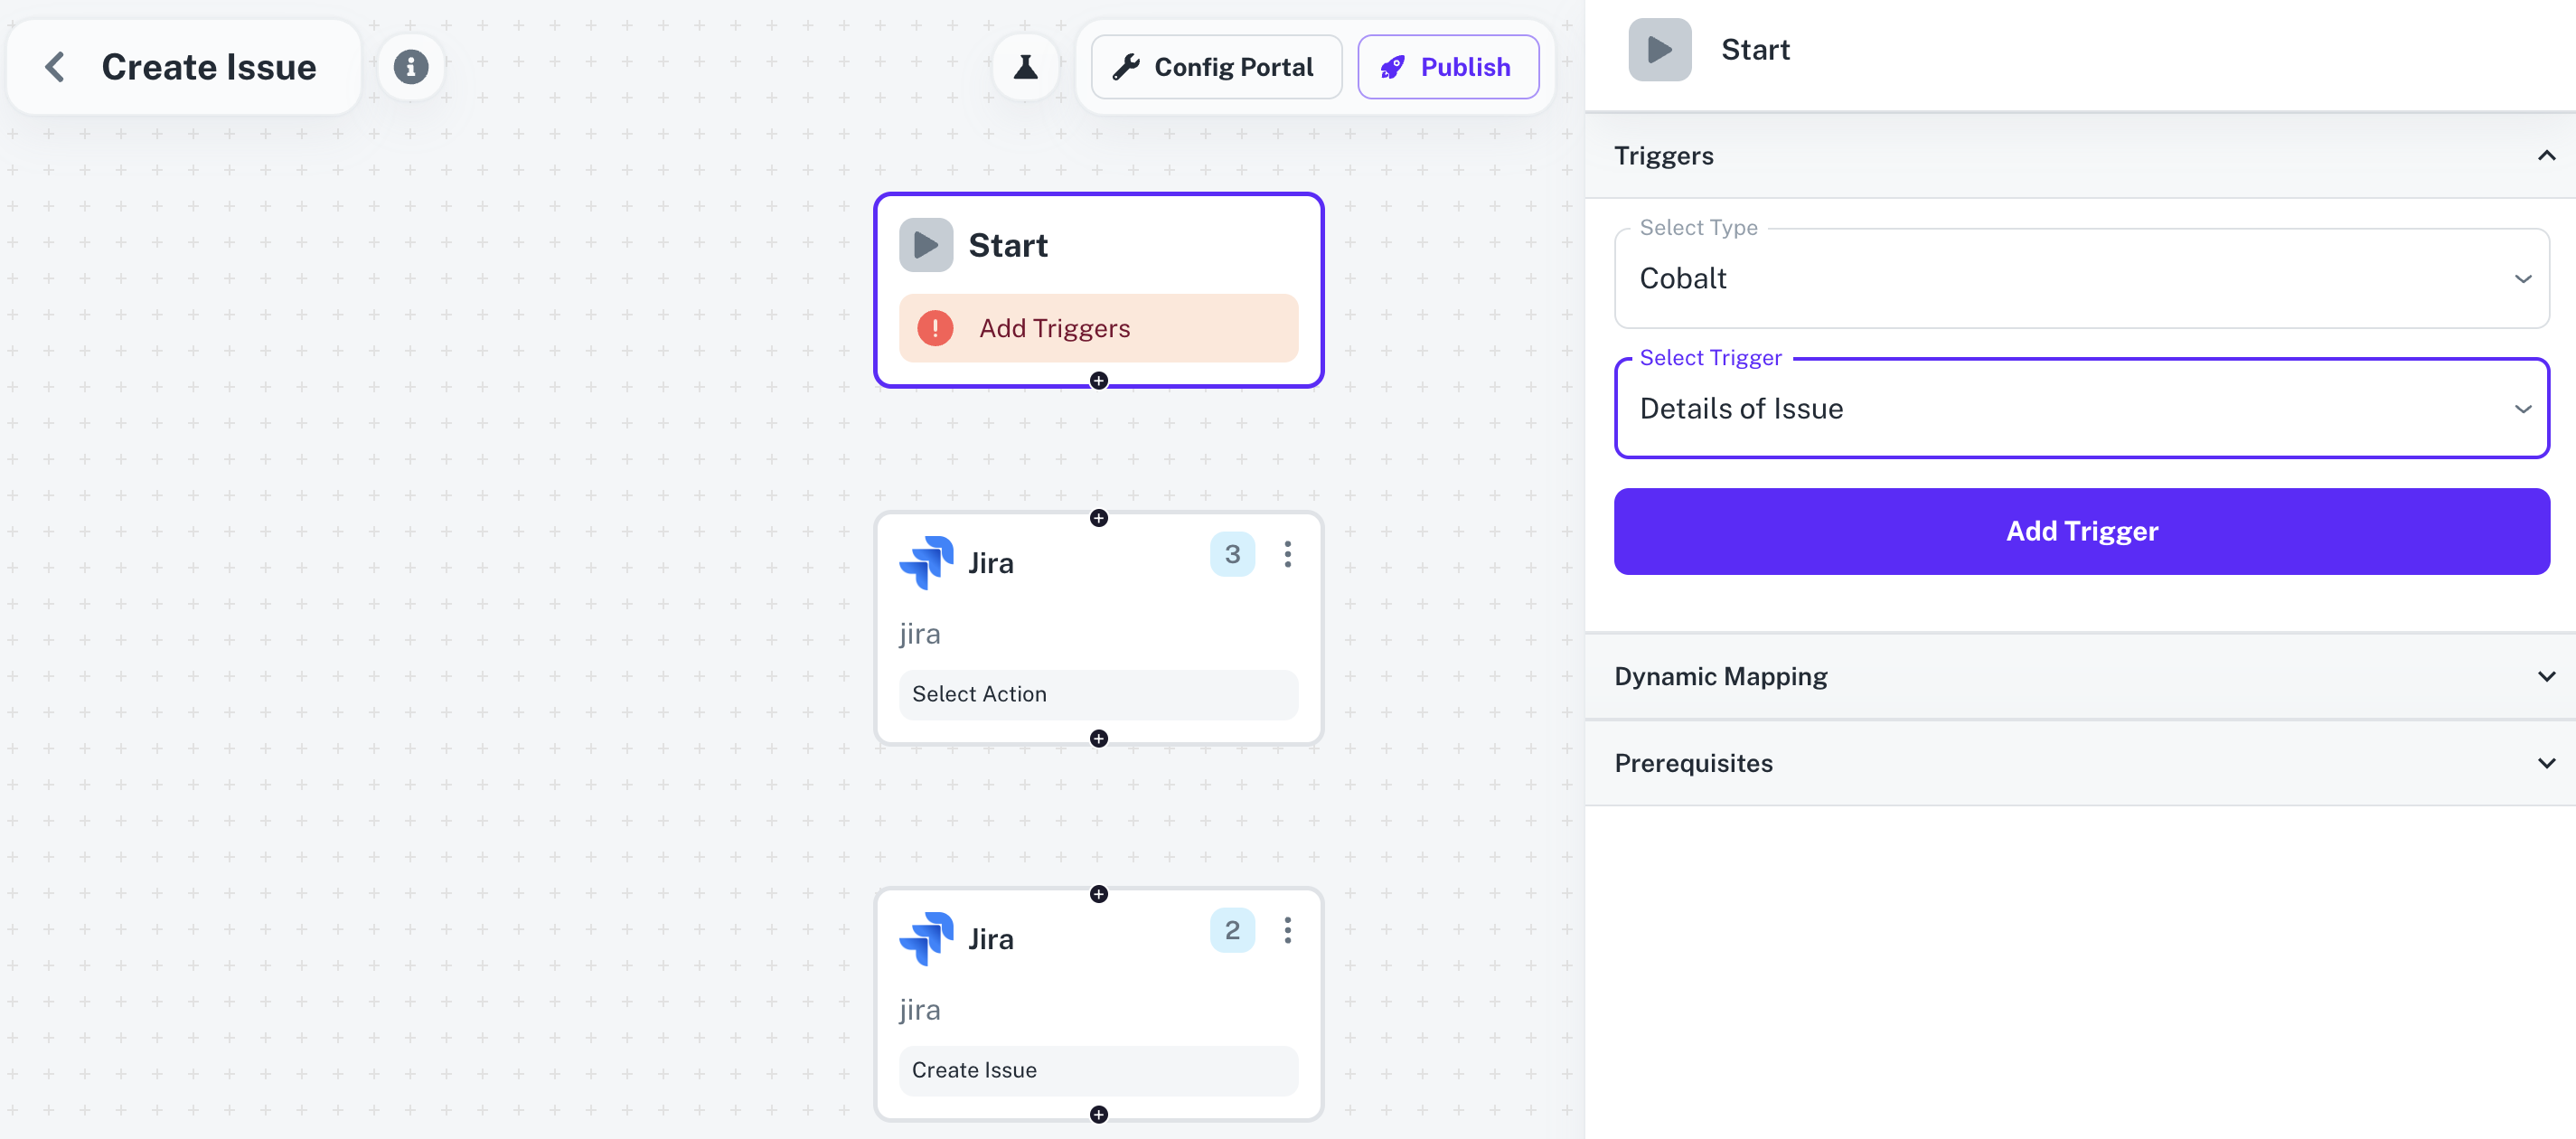 For this Workflow, we have created an Event
 Details of Issue which contains the payload like the project name, issue description, priority etc. about the event sent by you to Jira.
3. Adding the Jira Action
- From
Actions, add a Jira node to the workflow. - Click on the node and select an Action from the
Choose an Actiondropdown menu. - Choose the List Projects Action to get a list of all the projects in Jira.
- Next, use a Transform Node to find the Project ID based on the Project Name.
Learn more about the Transform Node here.
- Add another Jira node, choose
Create Issueas the Action and provide the required fields like Project ID, Issue-type ID etc. and click onSave.
Before clicking on
Save, make sure that you have entered data for all the mandatory fields whichever required.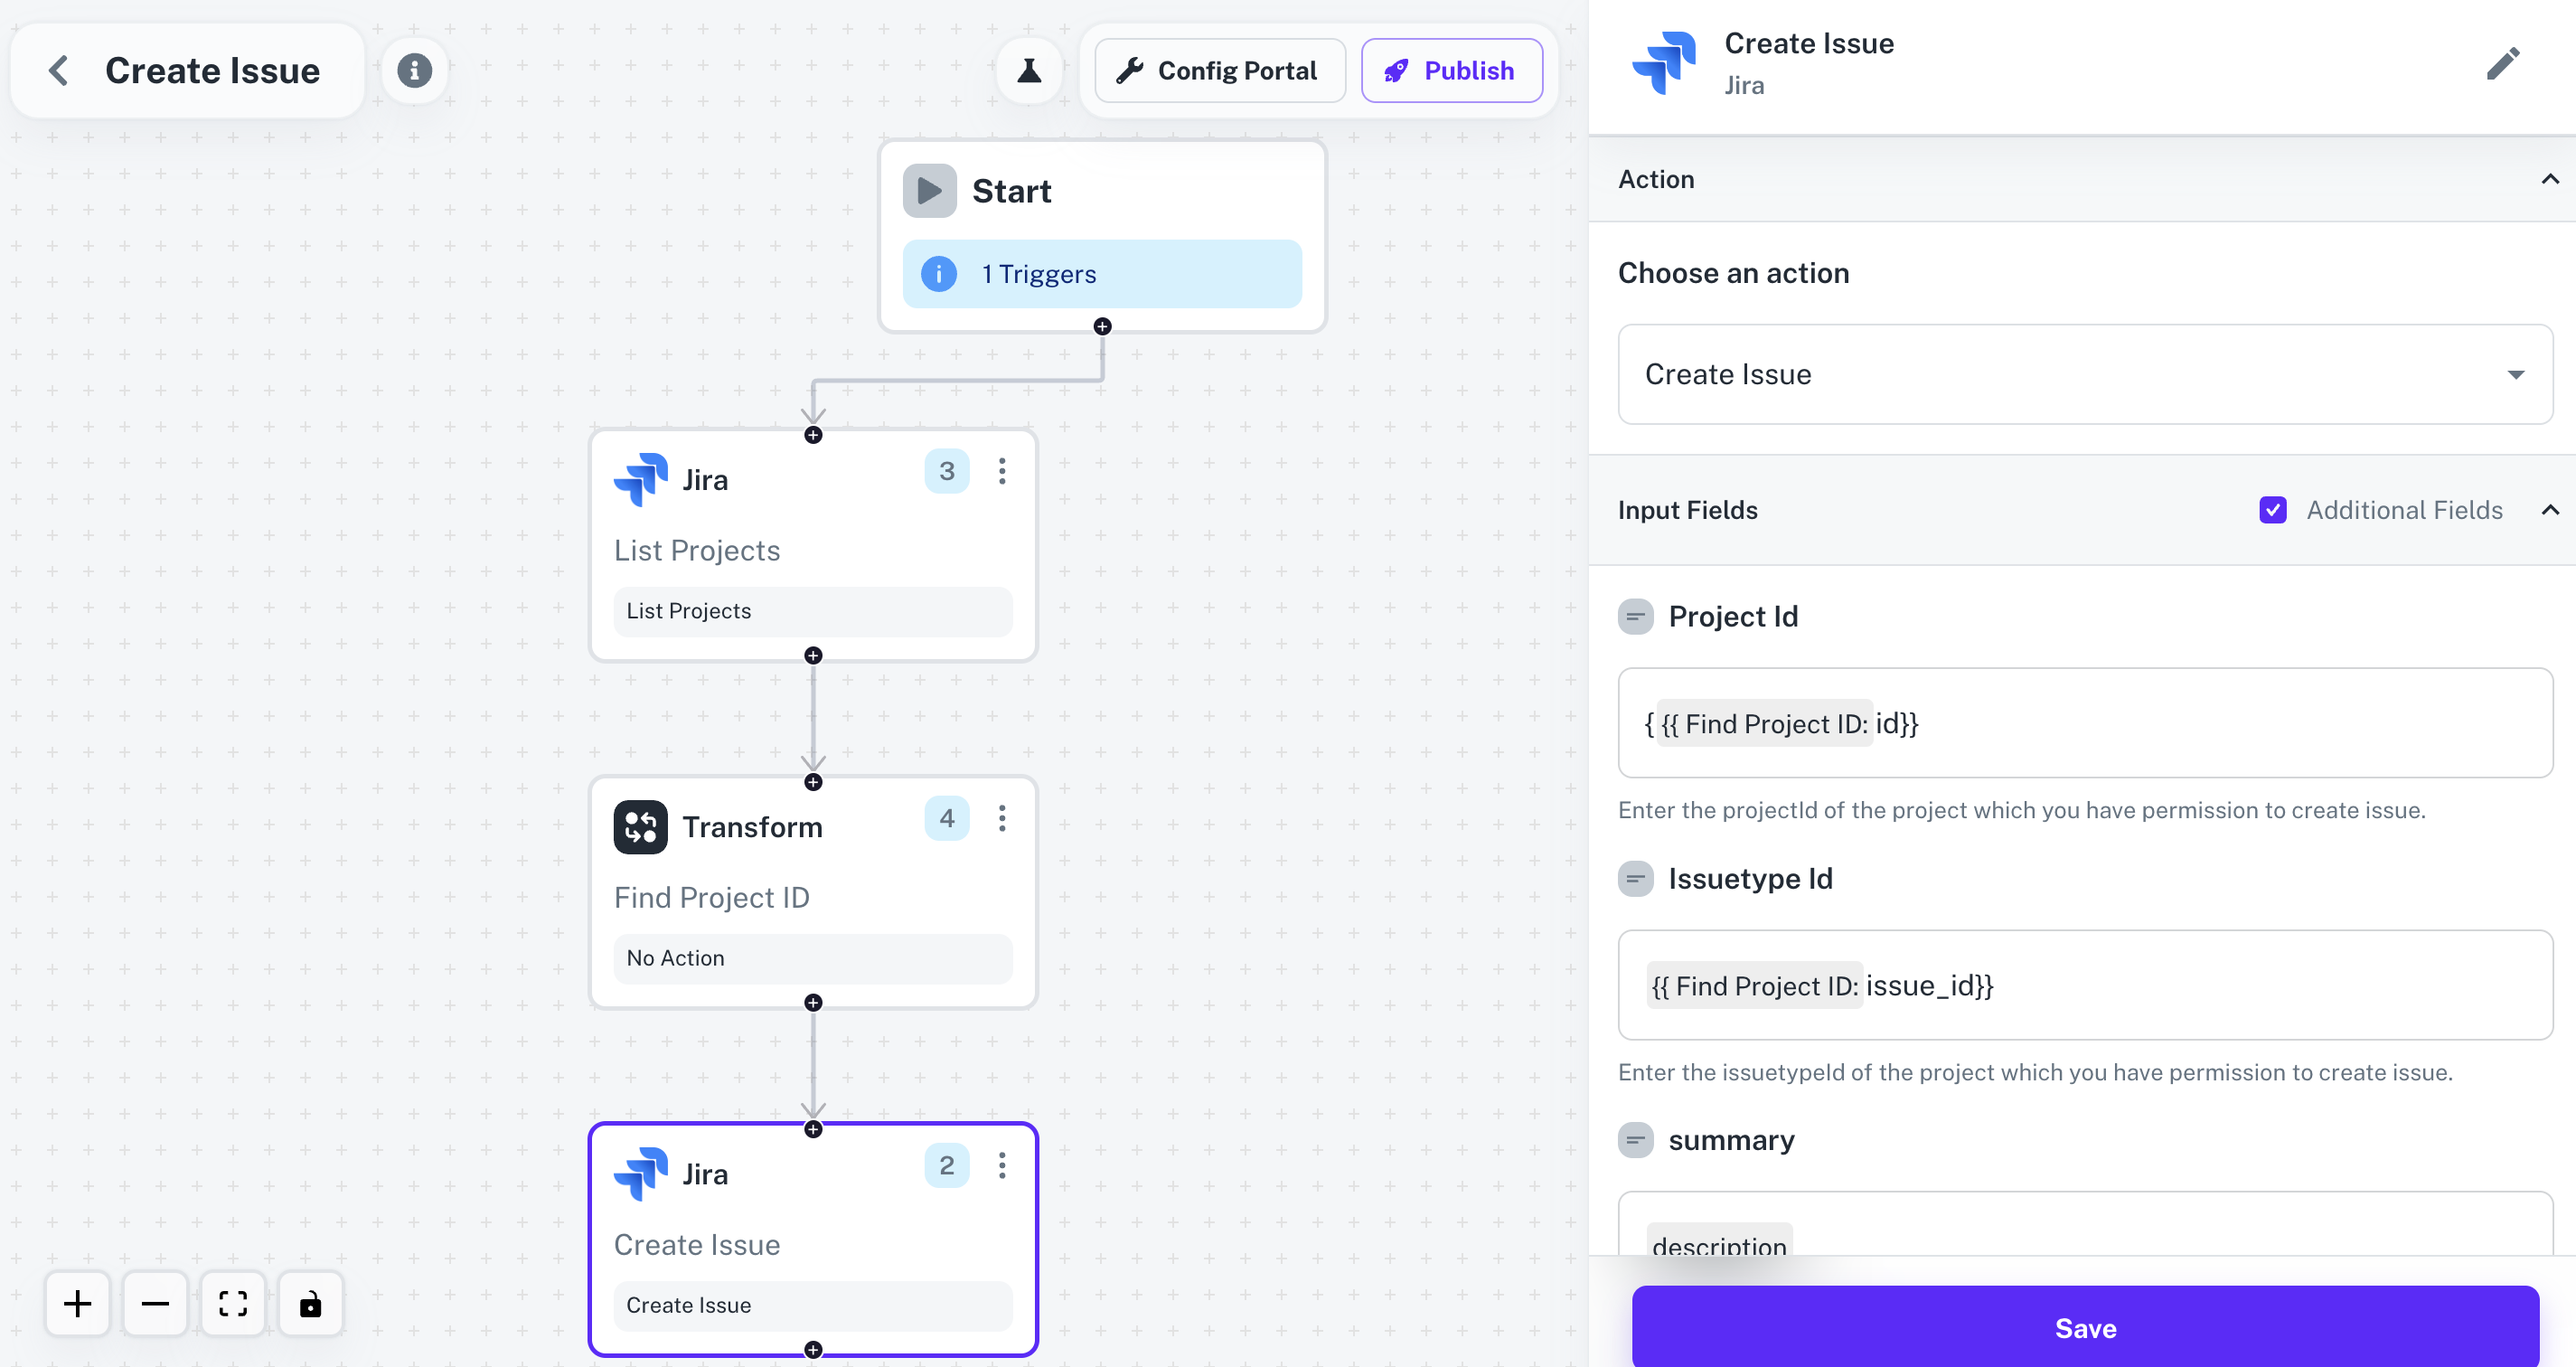
- Connect all the nodes by clicking on
+button on the node and dragging the arrow to the Jira node.
4. Publishing the Workflow
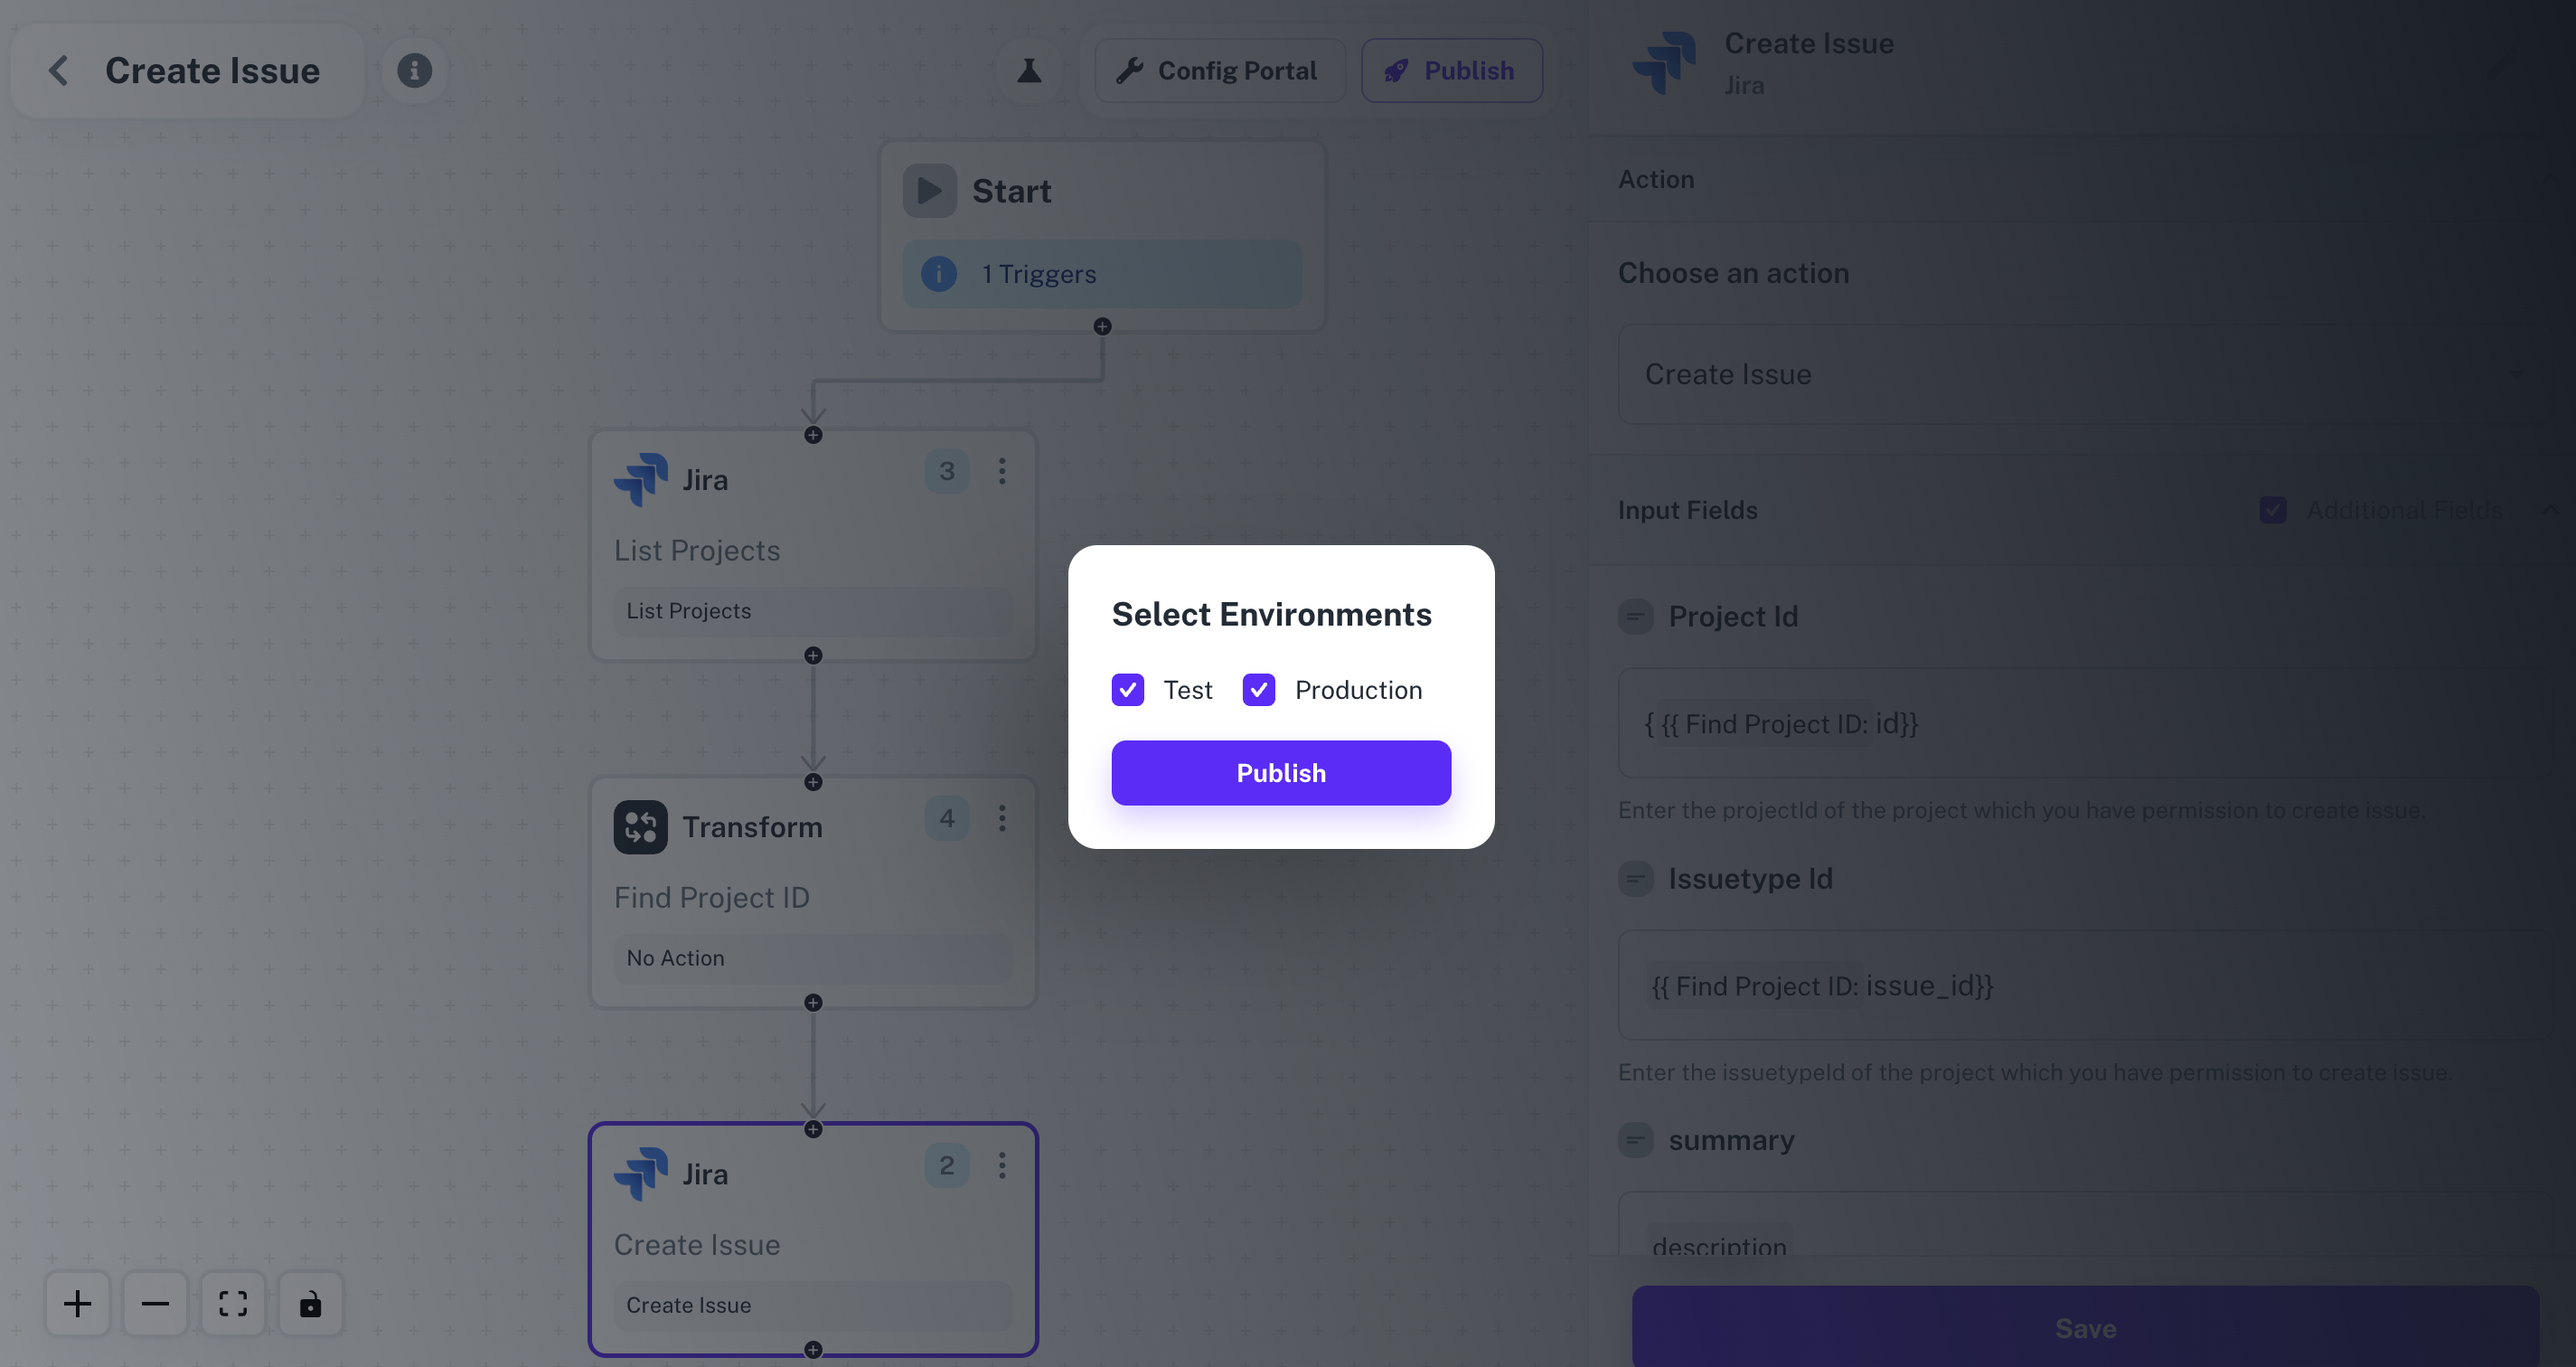
- To publish the workflow, click on the
Publishbutton in the top, Select Environments of the Workflow and click onPublish.
Enabling the Workflow
To enable a workflow, end user or a Linked Account needs to Toggle On the Workflow after connecting with the application.- Navigate to the Linked Account in which the Workflow needs to be enabled by getting its’ Hosted URL.
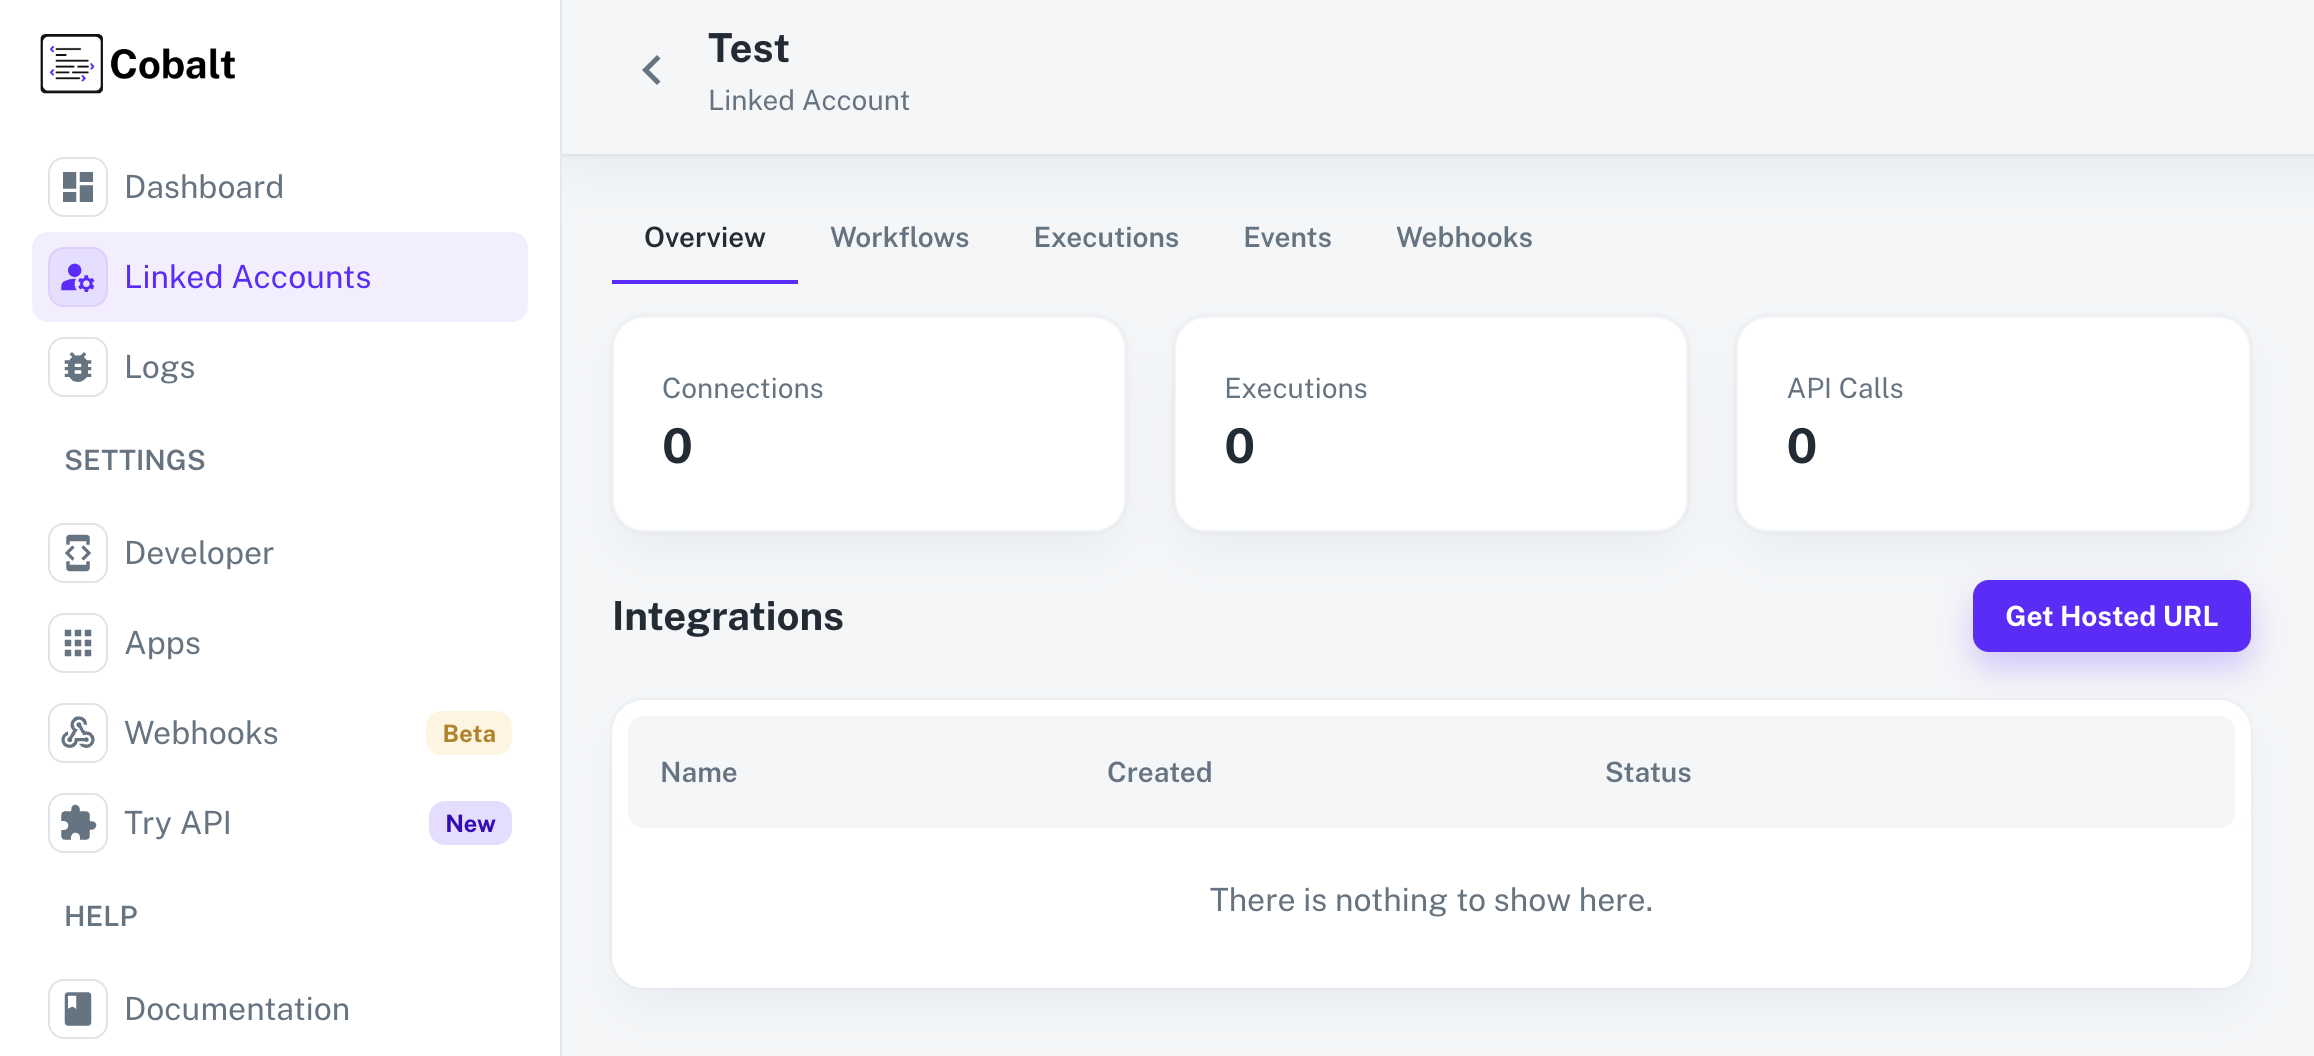
- Go to the Hosted URL and select Jira from
Manage your Integrationslist. - Click on the
Connectbutton > Review the permissions and allow them for a successful connection.
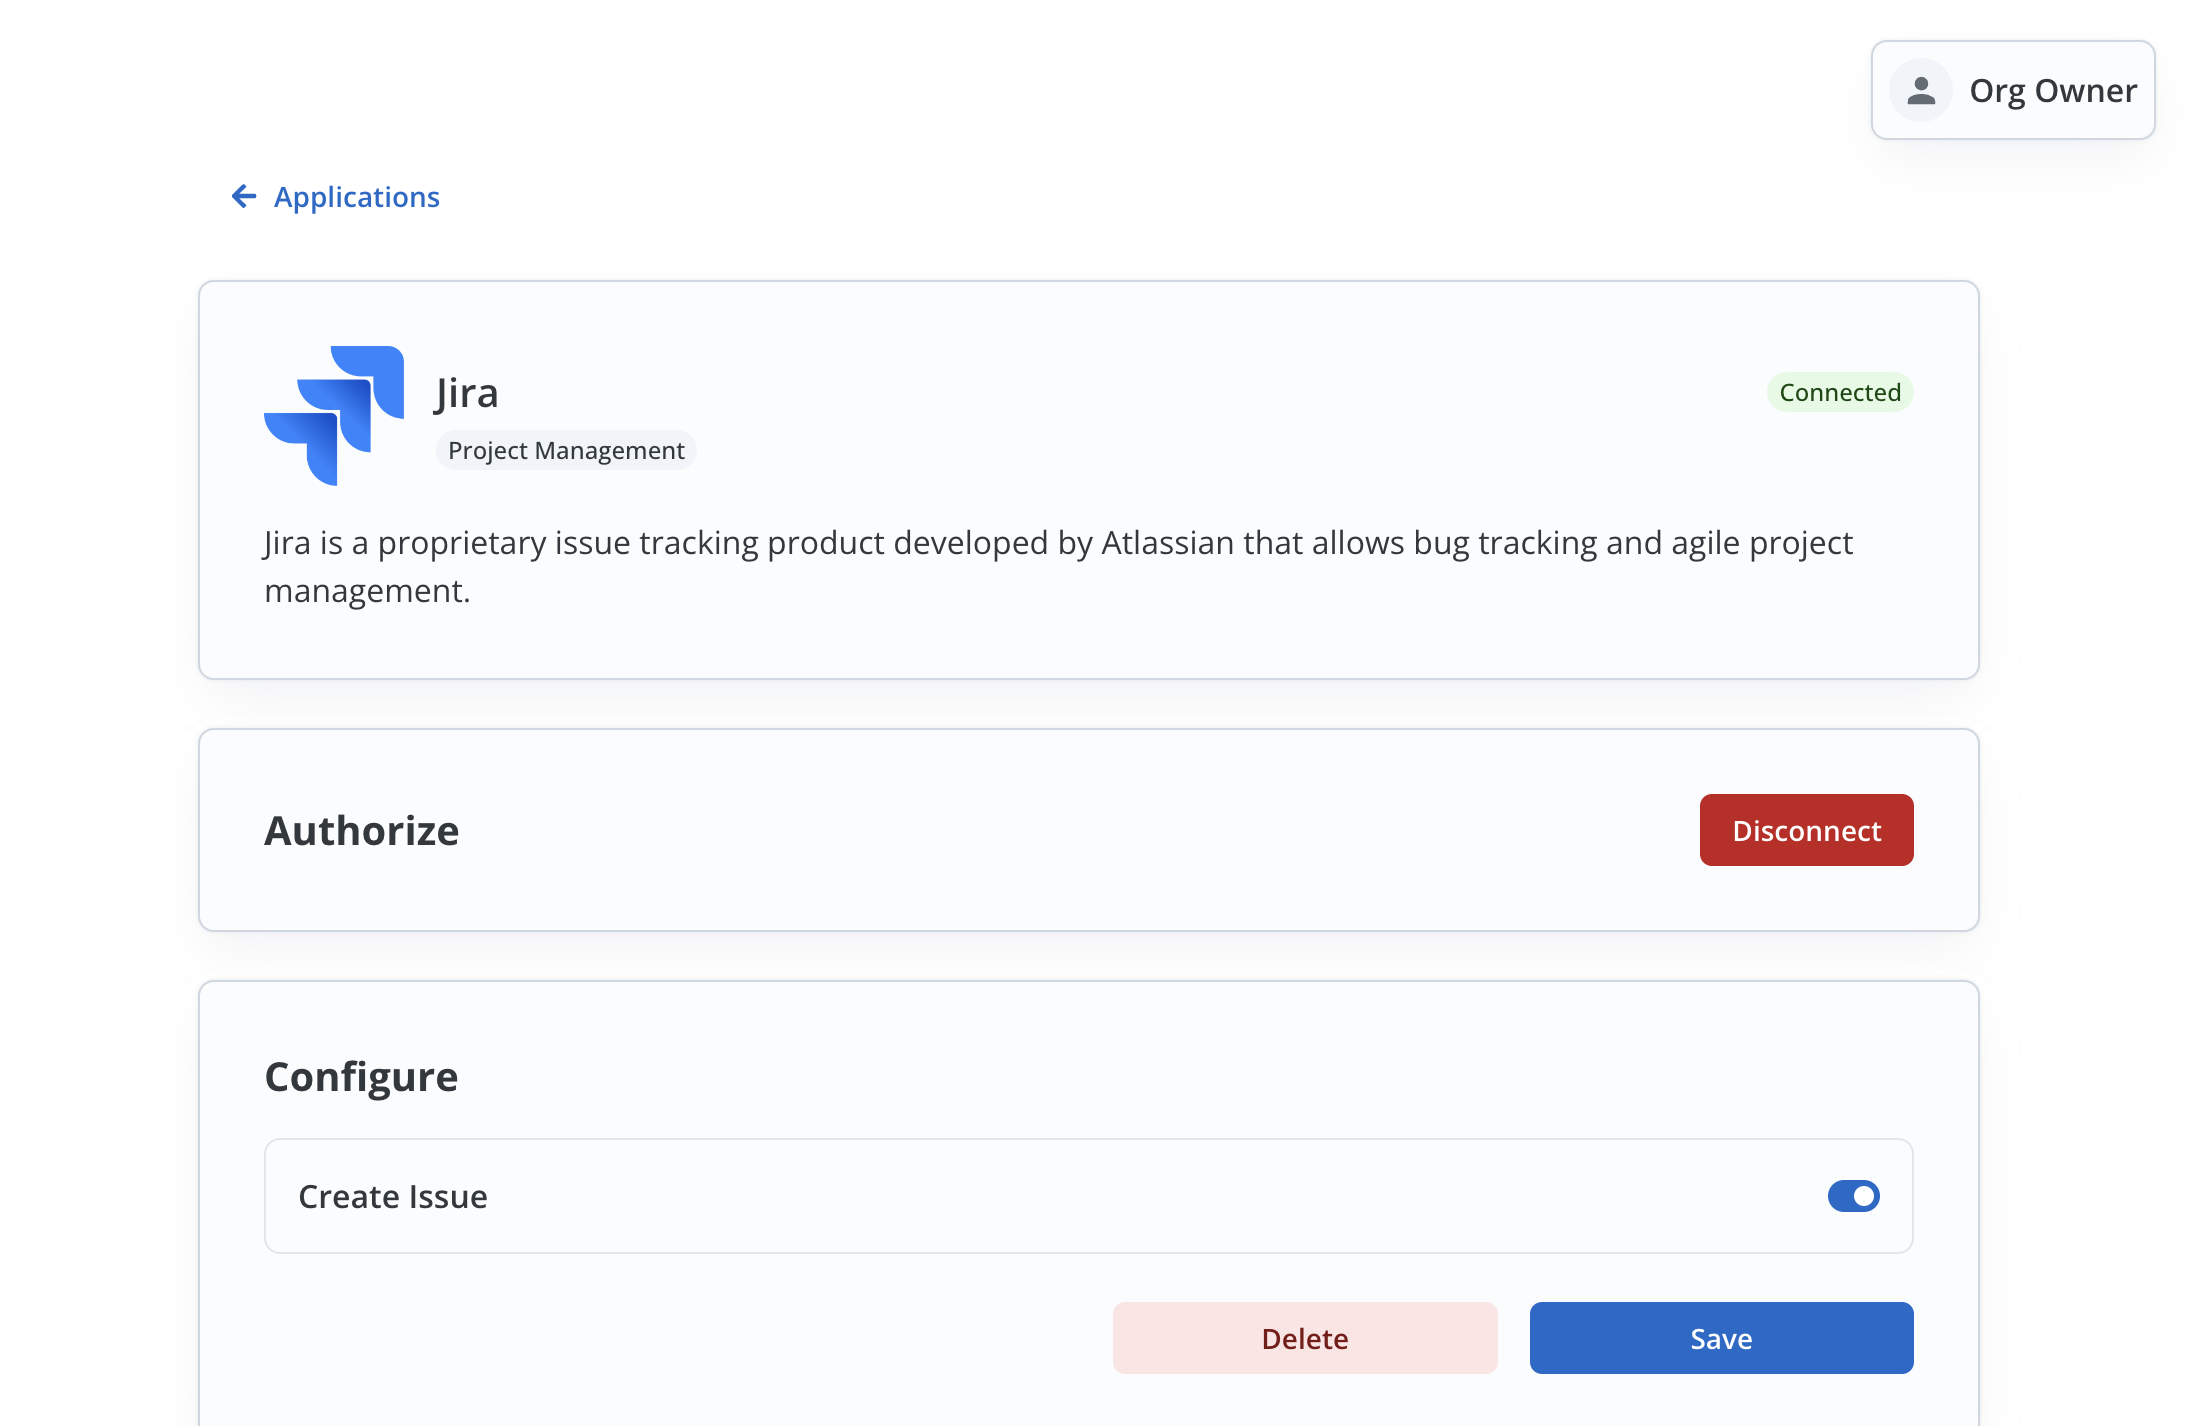
- After a successful connection, you can see the
Configuresection in the Pardot Application page. - Enable the Workflow Create Issue by turning the toggle On and click on
Save.
Fire an App Event
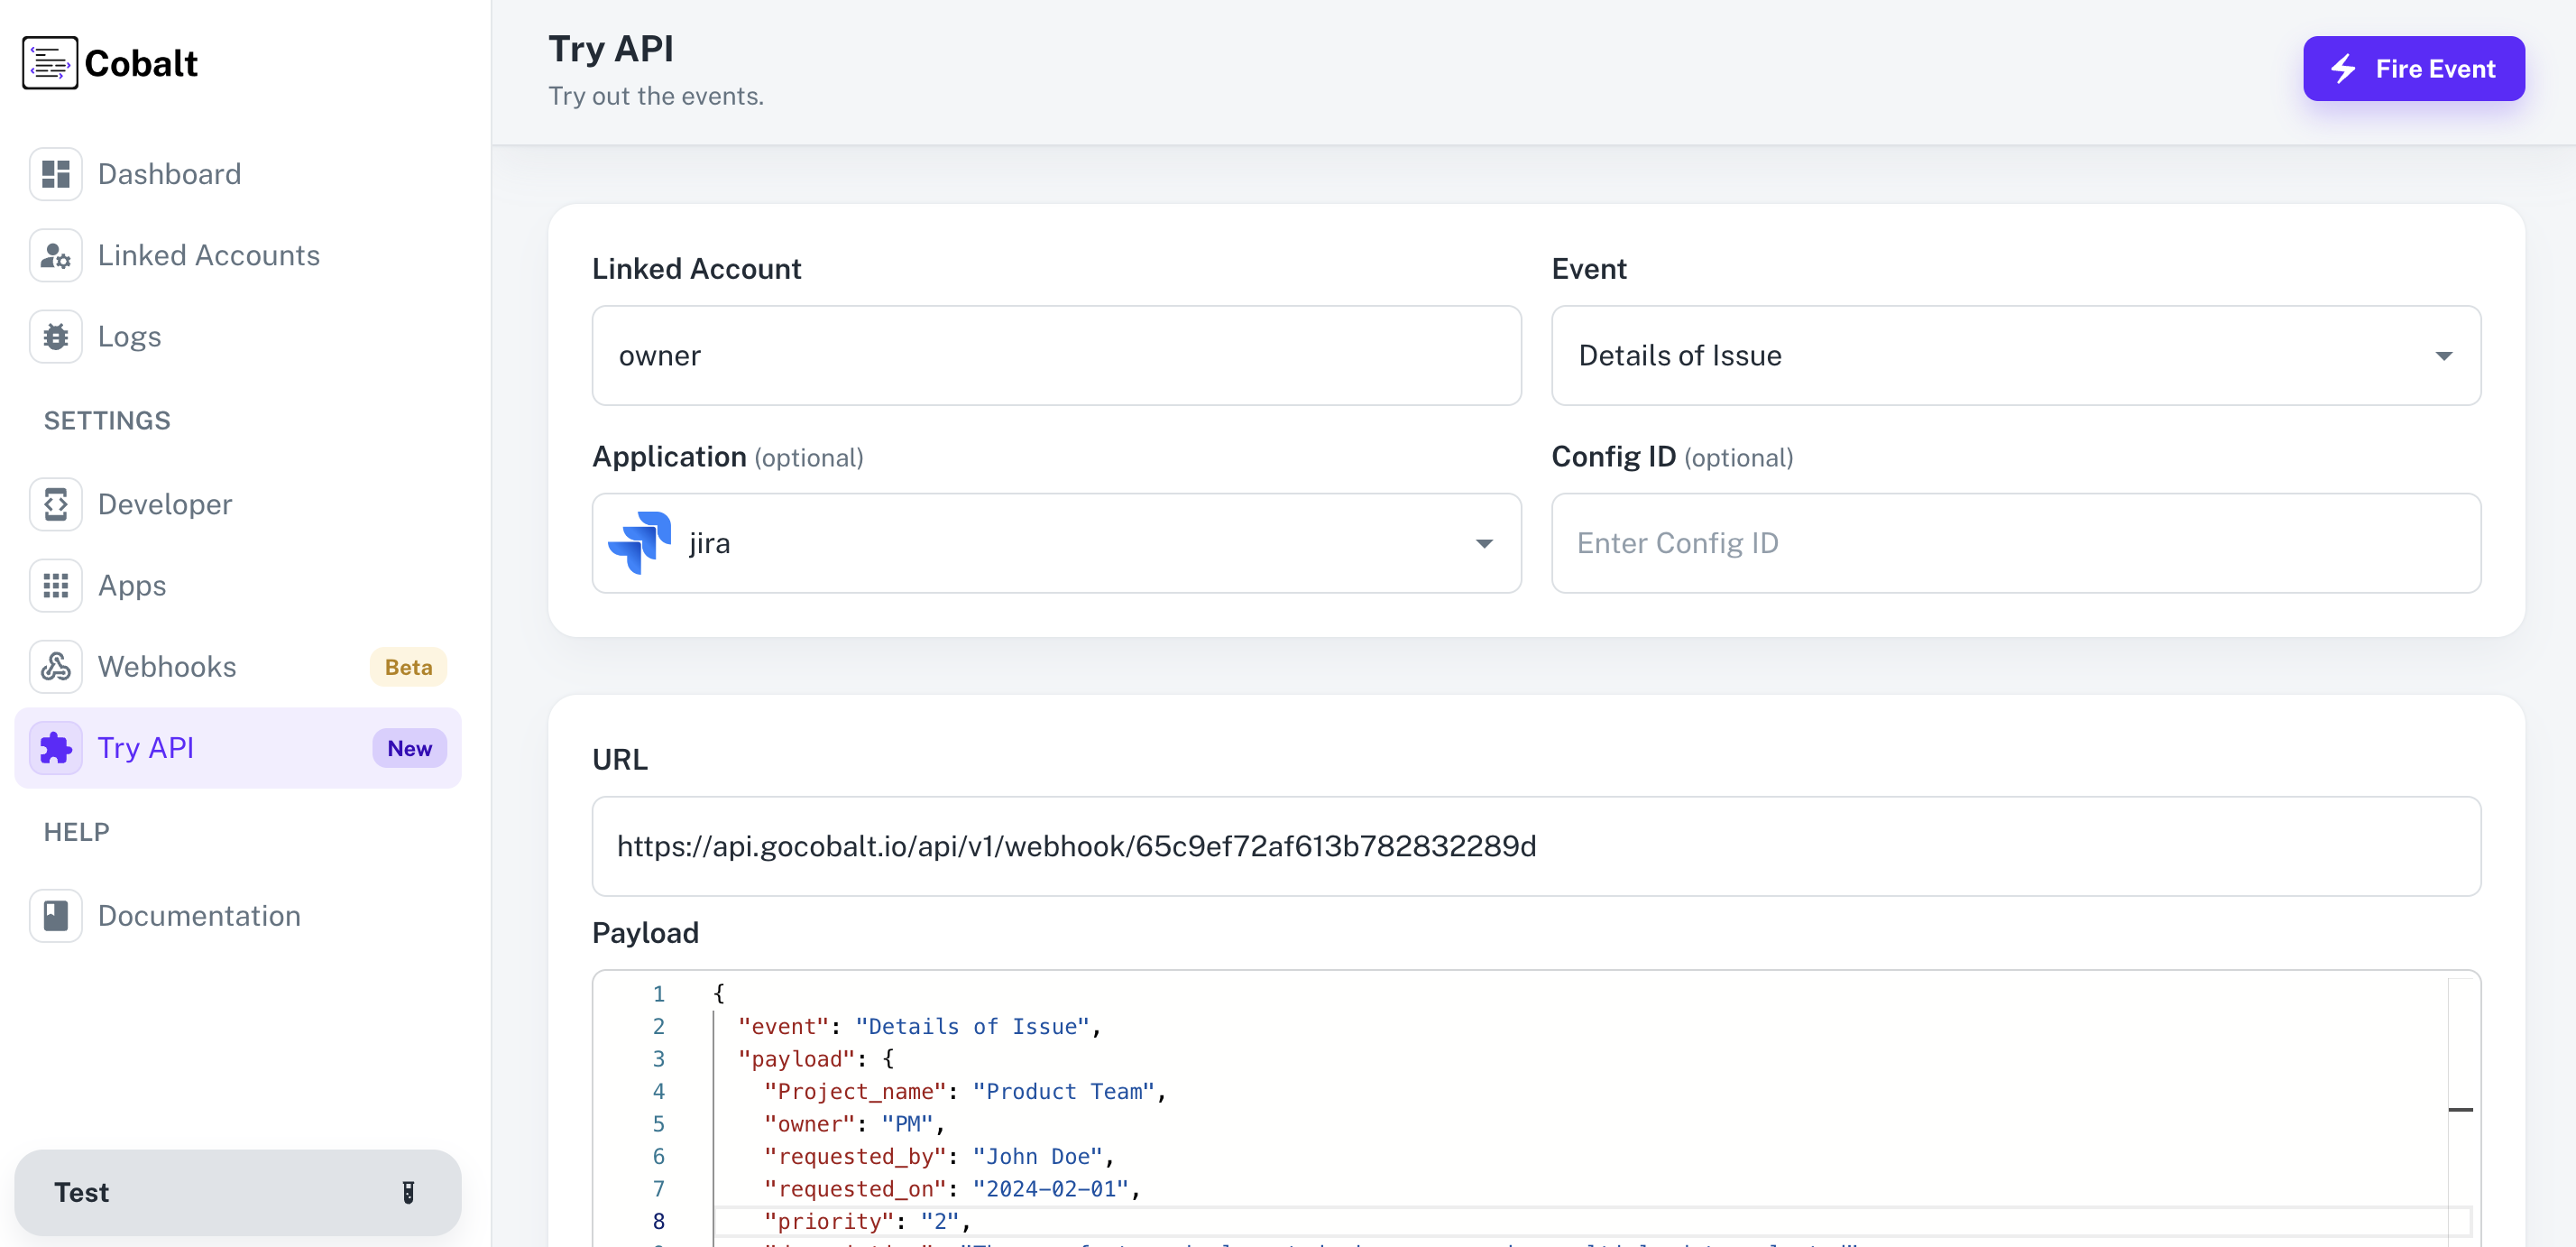
Lastly, we’ll fire an App Event whenever a contact is created in your app by using the Workflow.- Navigate to
Try APIin Cobalt. - Choose the Linked Account created to test the workflow, select the Event and Jira as the Application.
- Click on the
Fire Eventbutton in the top right.
- You can check the status of the event by navigating to
Logs>Eventsin Cobalt.