Platform Setup
API Proxies
Learn how to setup an API Proxy in Cobalt
API Proxies allows your organization to integrate services better with the workflows in Cobalt by configuring your API Endpoints. These API endpoints will receive the response from a workflow in Cobalt.
Generally the S3 URL generated using

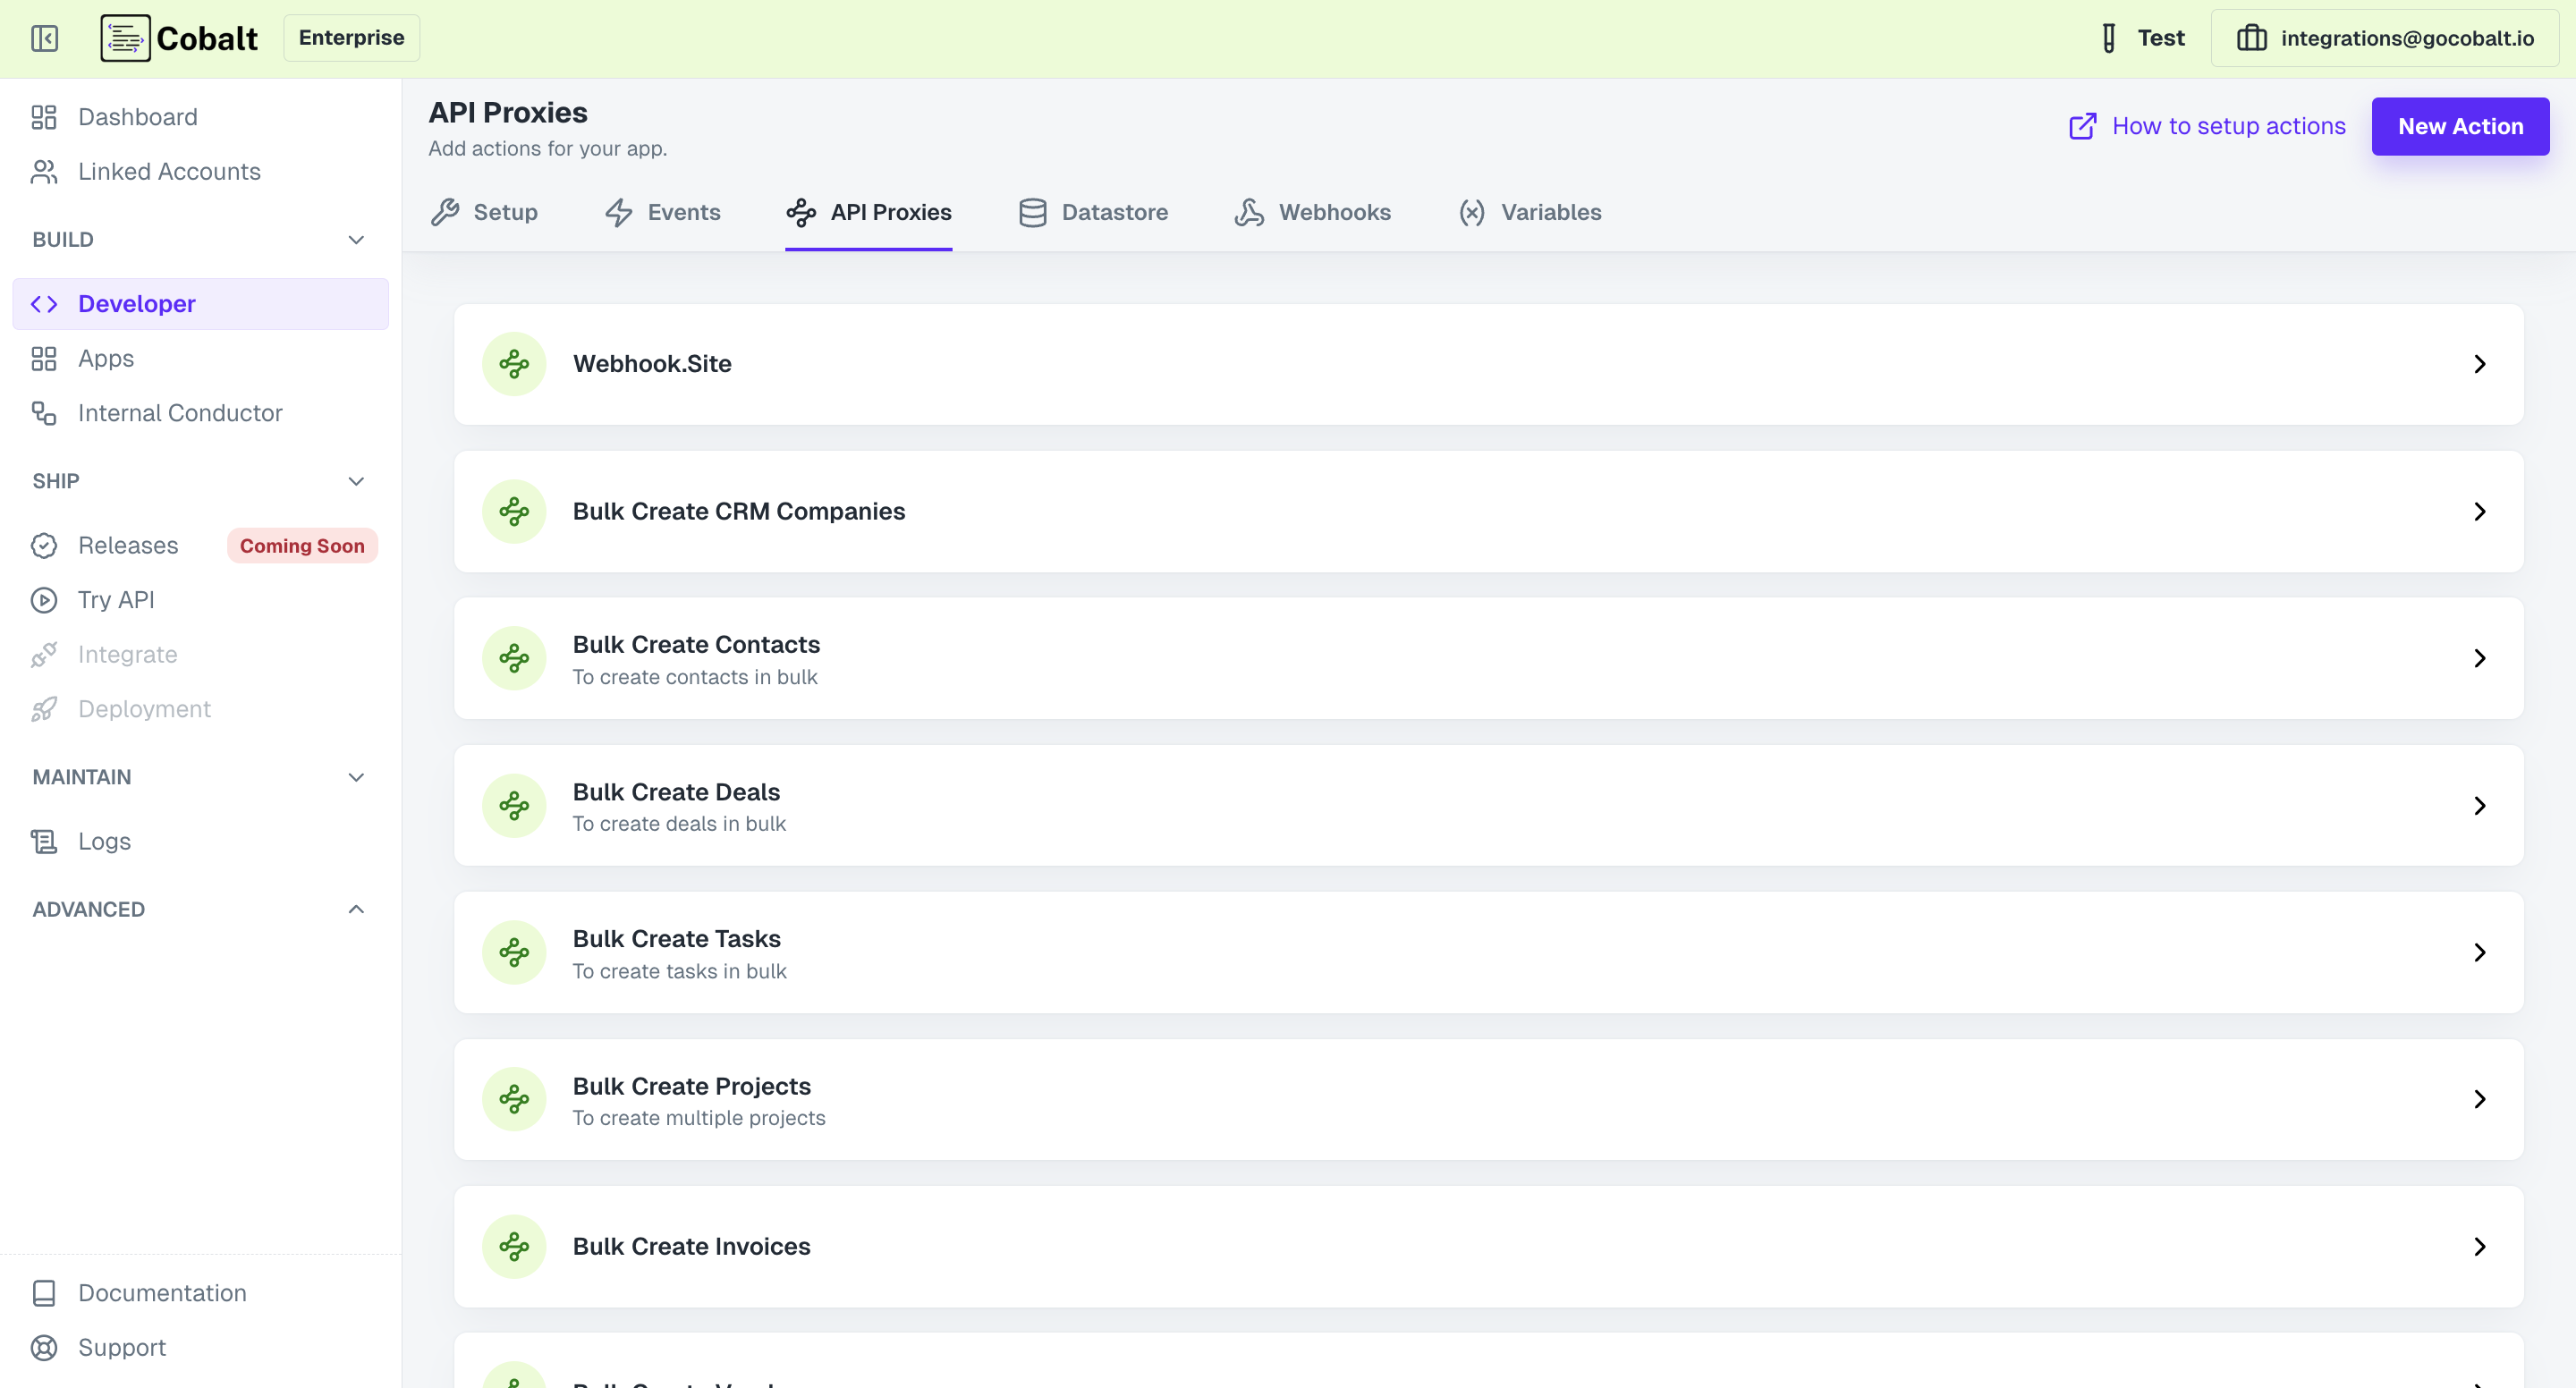
Creating an API Proxy
To create an API Proxy in Cobalt, the user needs to provide specific information detailing the desired behavior of the action. This includes the following steps:1. Create Action
- Click on the
New Actionbutton and provide aNameandDescriptionfor the API Proxy. - Click on the
Create Actionbutton. - The API Proxy is created and the next step will be to configure it according to your needs.
2. Configuring the API Proxy
While configuring an API Proxy, there are 3 options that can be used to configure and make changes. TheBasic Information option can be used to update the name or the description of the API proxy.
Fields tab allows you to add and update fields for your Custom Action. These fields can be utilized to pass information between different steps within the workflow.
And the API Call tab is used to define the API call to be executed upon triggering the action, Specify the endpoint, HTTP method, and any required request parameters.
2.1 Adding a Field
- To add a new Field, click on the
+icon in Fields. - Provide information about the Field like
Typeof the field,Label,Placeholder,Descriptionand whether the Field is Mandatory or not and click onAdd Field.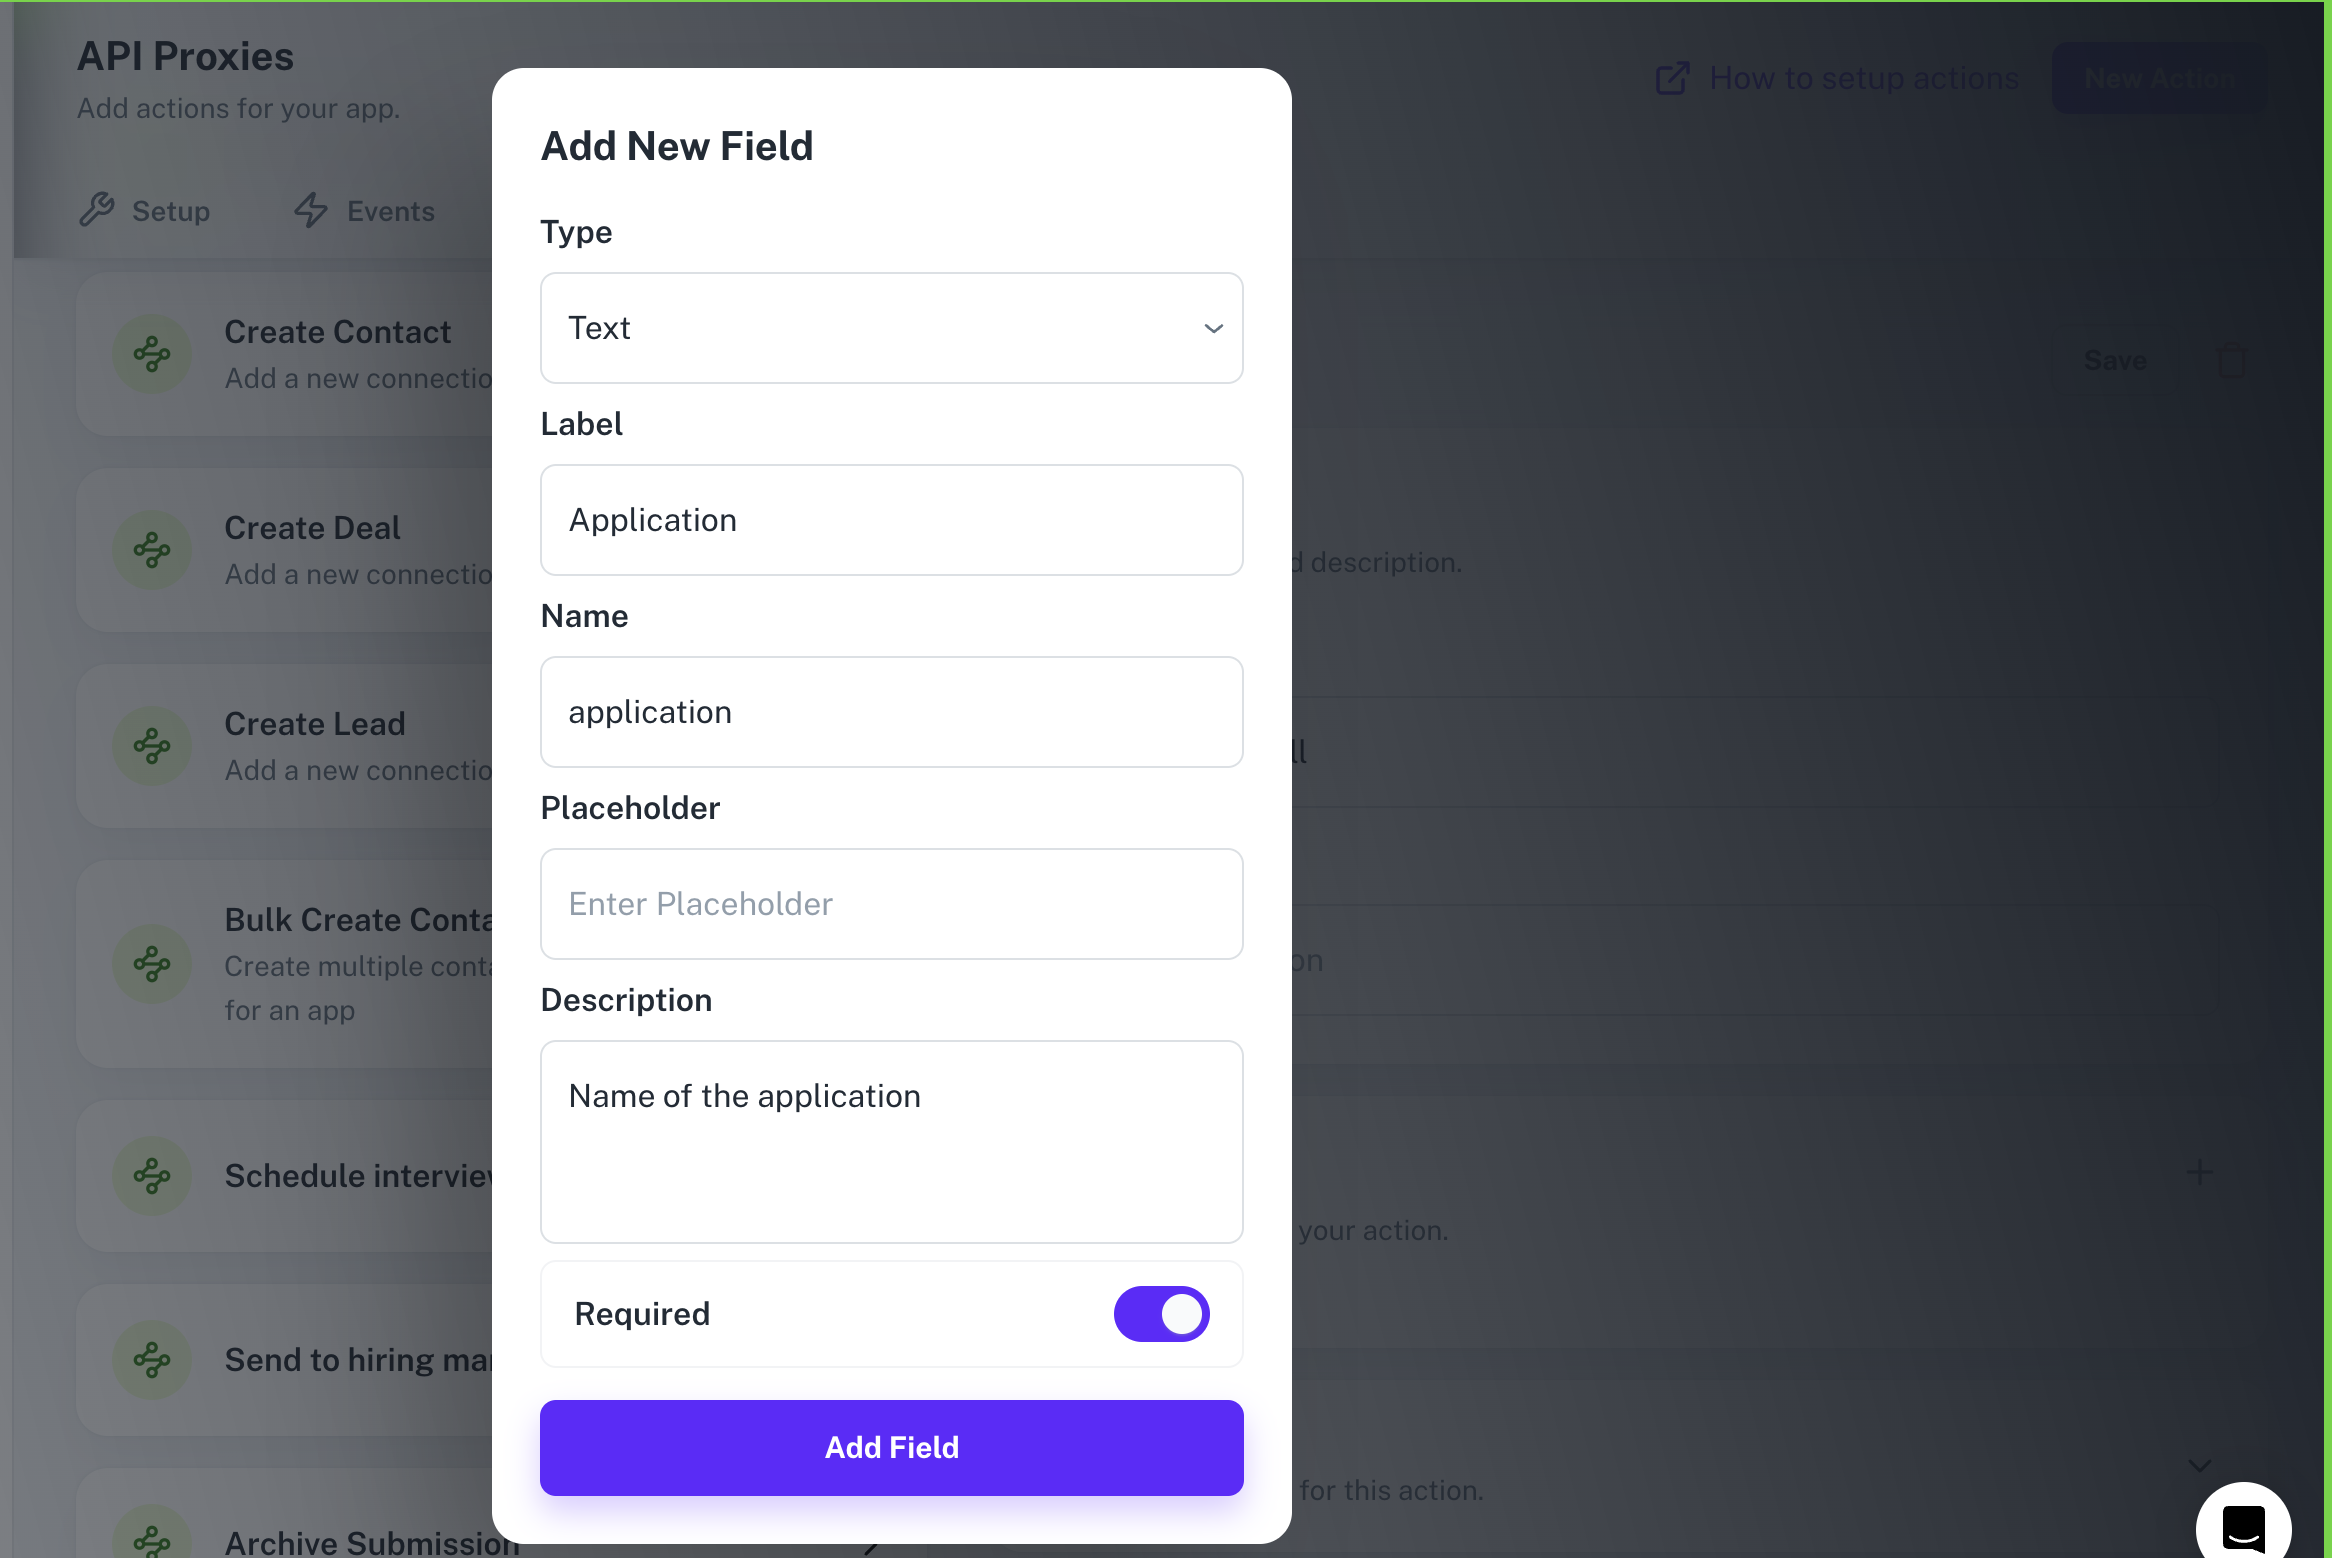
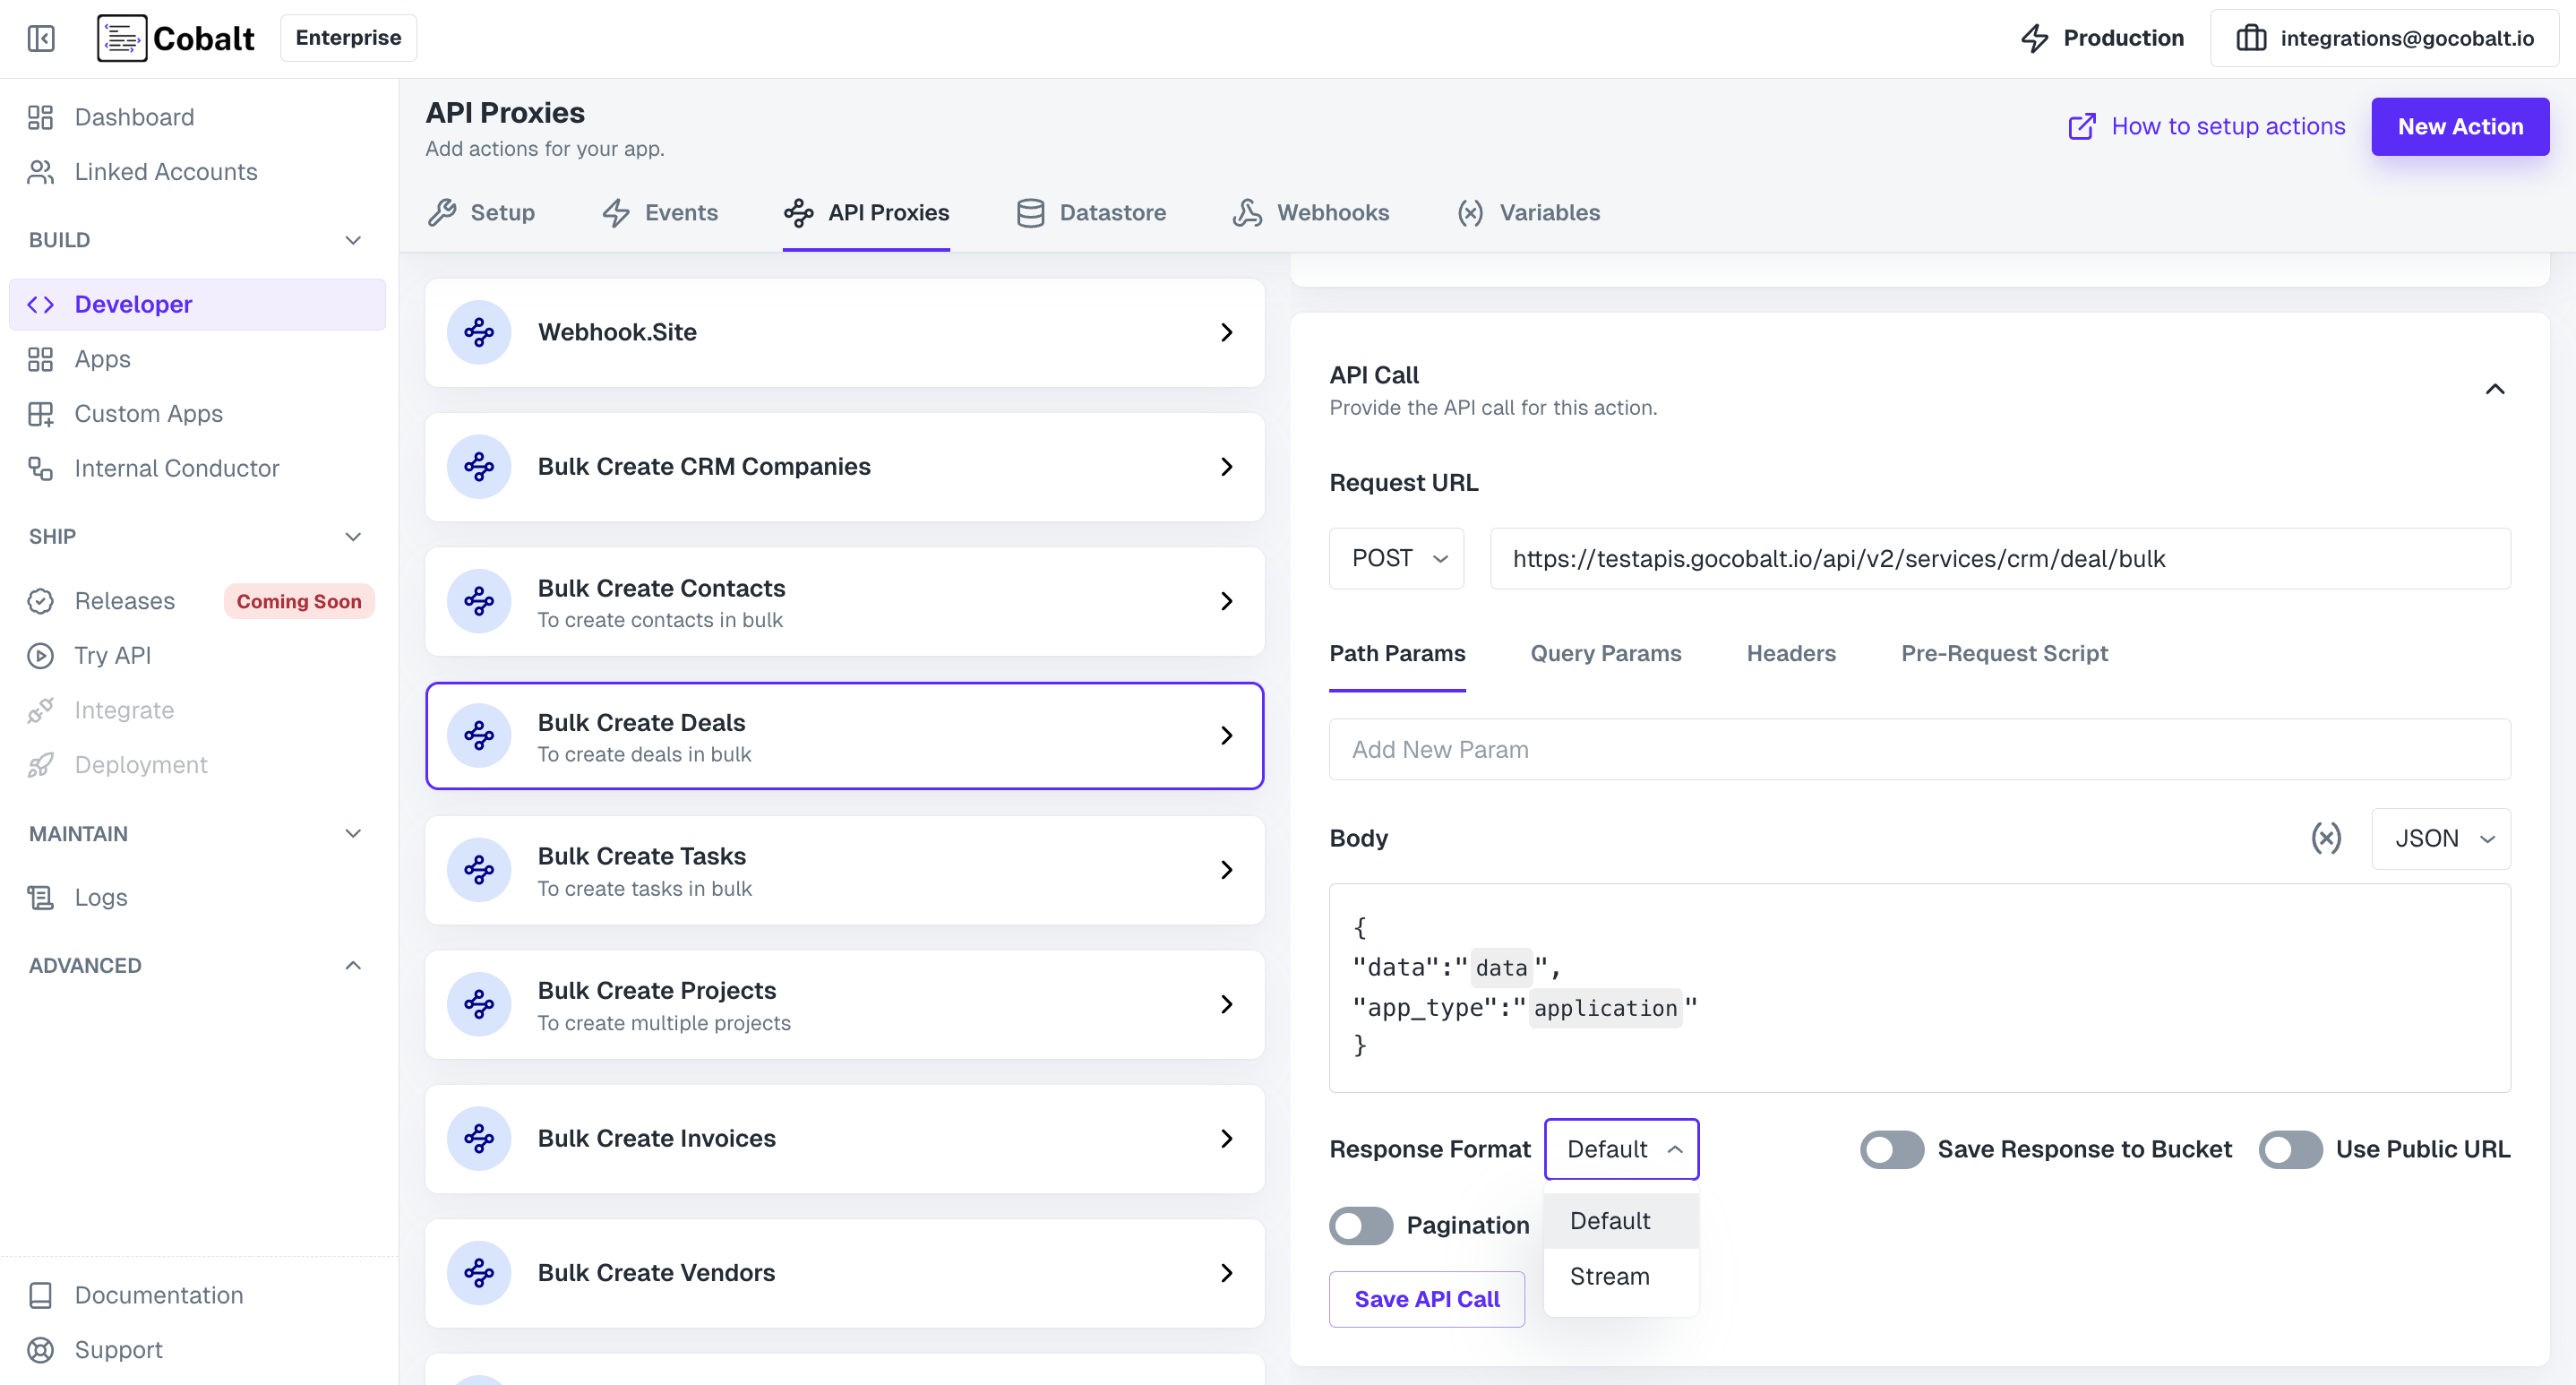
2.2 API Call Configuration
- Click and open the
API Callsection of API Proxy. - Provide the API Request which needs to be executed in this Custom Action by providing the endpoint and selecting the Request Method.
API Request or endpoint can also have variables in it which can be added to the URL by using curly brackets.
- Also provide other details for the API like Path or Query Params, Headers and any pre-request scripts and click on
Save API Call. - You can add variables or the fields created by you in API Proxy in the Body by clicking on the
(x)icon.
Cobalt offers a few additional settings during API Call setup to configure how you want the response. Learn about here.
Settings to Configure Response
In theAPI Call section of your API Proxy setup, Cobalt offers options to change how you want to handle the response. Following are the settings available to you:
Response Format
Response Format
Cobalt offers two options for the format : Default and Stream.Default is how an API generally gives response and is available by default in all API Proxies.Stream format is used when you want to stream responses in chunks from the API.
Save Response to Bucket
Save Response to Bucket
By turning the Toggle On, instead of saving response, you can store the response of API in a S3 Bucket provided by Cobalt.This is generally used when you want to retrieve like PDFs or in a non-JSON format.
Use Public URL
Use Public URL
For
Use Public URL to work Save Response to Bucket toggle should be On, else it is ignored.Save Response to Bucket will be a private bucket and can only be accessed by the same AWS org. Also, this URL can be used in Cobalt nodes as well like PDF Node.But if you want to share the bucket to public, turn on Use Public URL toggle and you can share it easily.Pagination
Pagination
If the API supports pagination, then you can add it to your API Proxy. Go to the API Call section and enable the 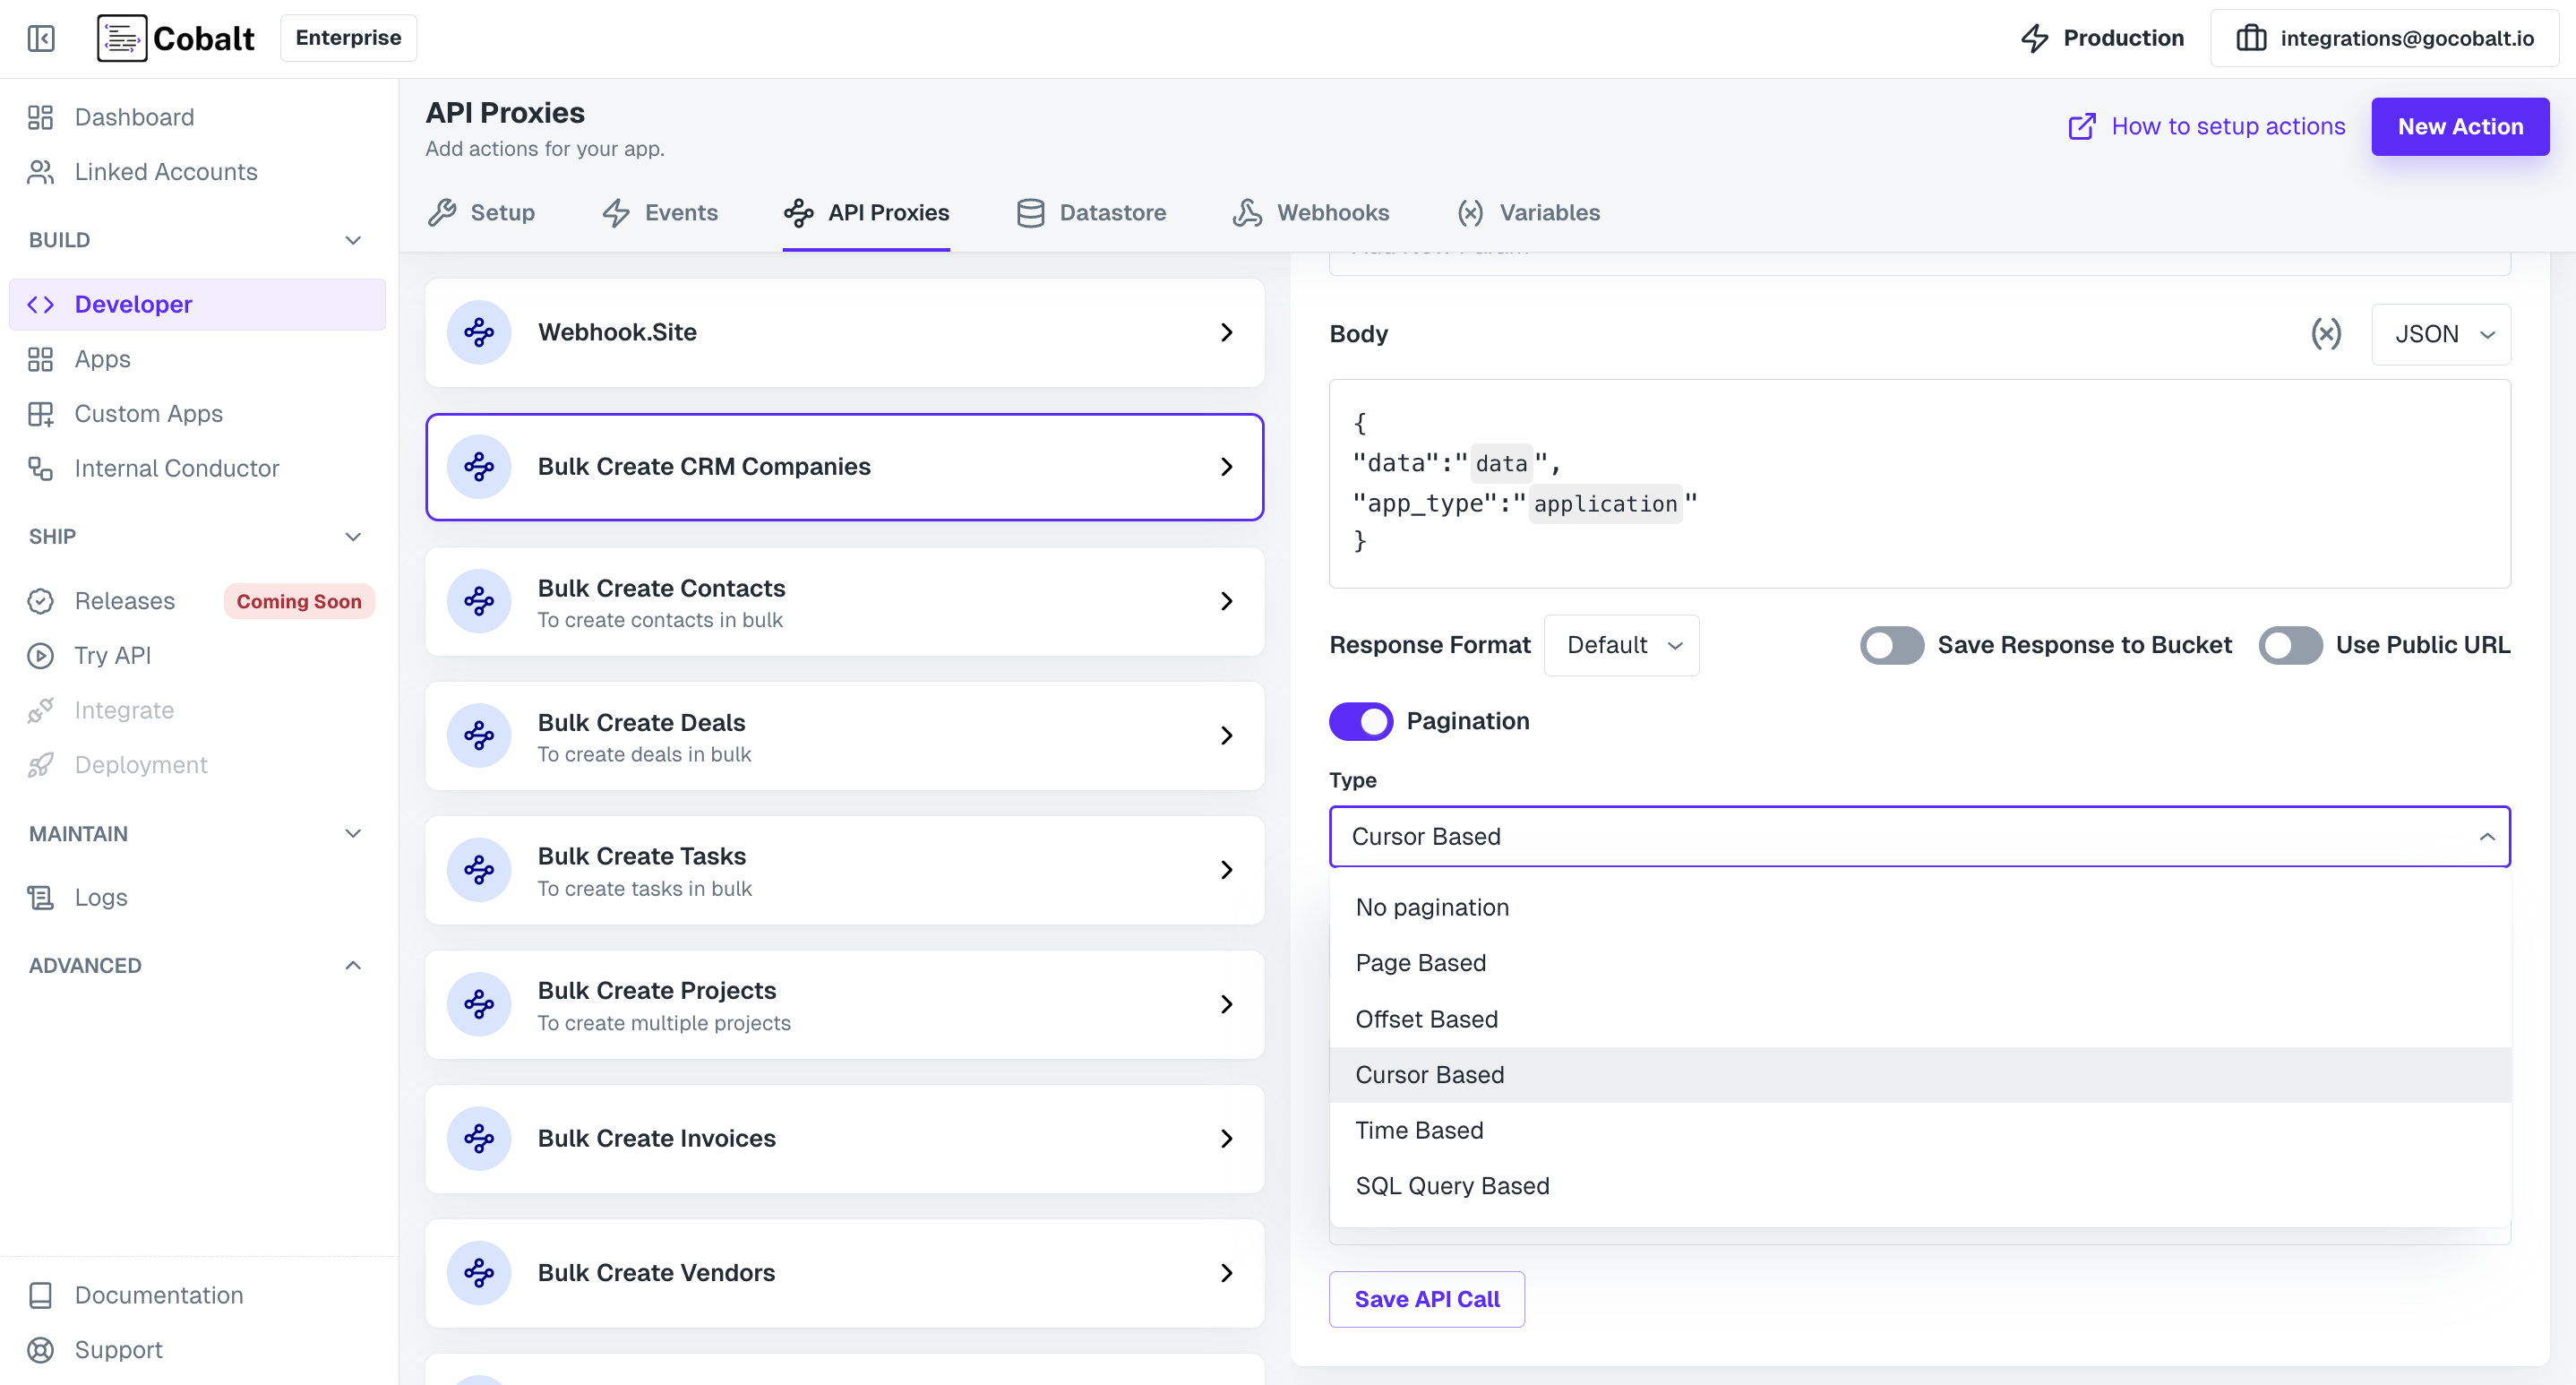
Pagination toggle.In the Type field, select the pagination type and provide the required fields and click on Save API Call.Utilizing the API Proxy in Workflows
Once created, API Proxies can be used in workflows within Cobalt by using your Custom App present within Native Apps. This means that one Custom Action can be executed in several workflows. Users can define trigger conditions that initiate the execution of these actions, enabling automated responses to specific events and facilitating end-to-end process automation.