Pardot
Pardot Business Unit Setup
In this you will get to know the step by step process to configure your Salesforce Pardot Org.
Steps
Follow the steps given below to create your Pardot account.1. Sign Up for Pardot Org
Sign up on below link https://developer.salesforce.com/promotions/orgs/pardot-de. Once you fill the signup form, you will receive an email and you can set your password.2. Install Package
- Install the package by going to the following link : http://www2.pardot.com/notes/pardot-appexchange-package-download-and-release-notes/ .
- Click on
Production Environments> Login with your Pardot credentials > SelectInstall for All Users> Click onInstall.
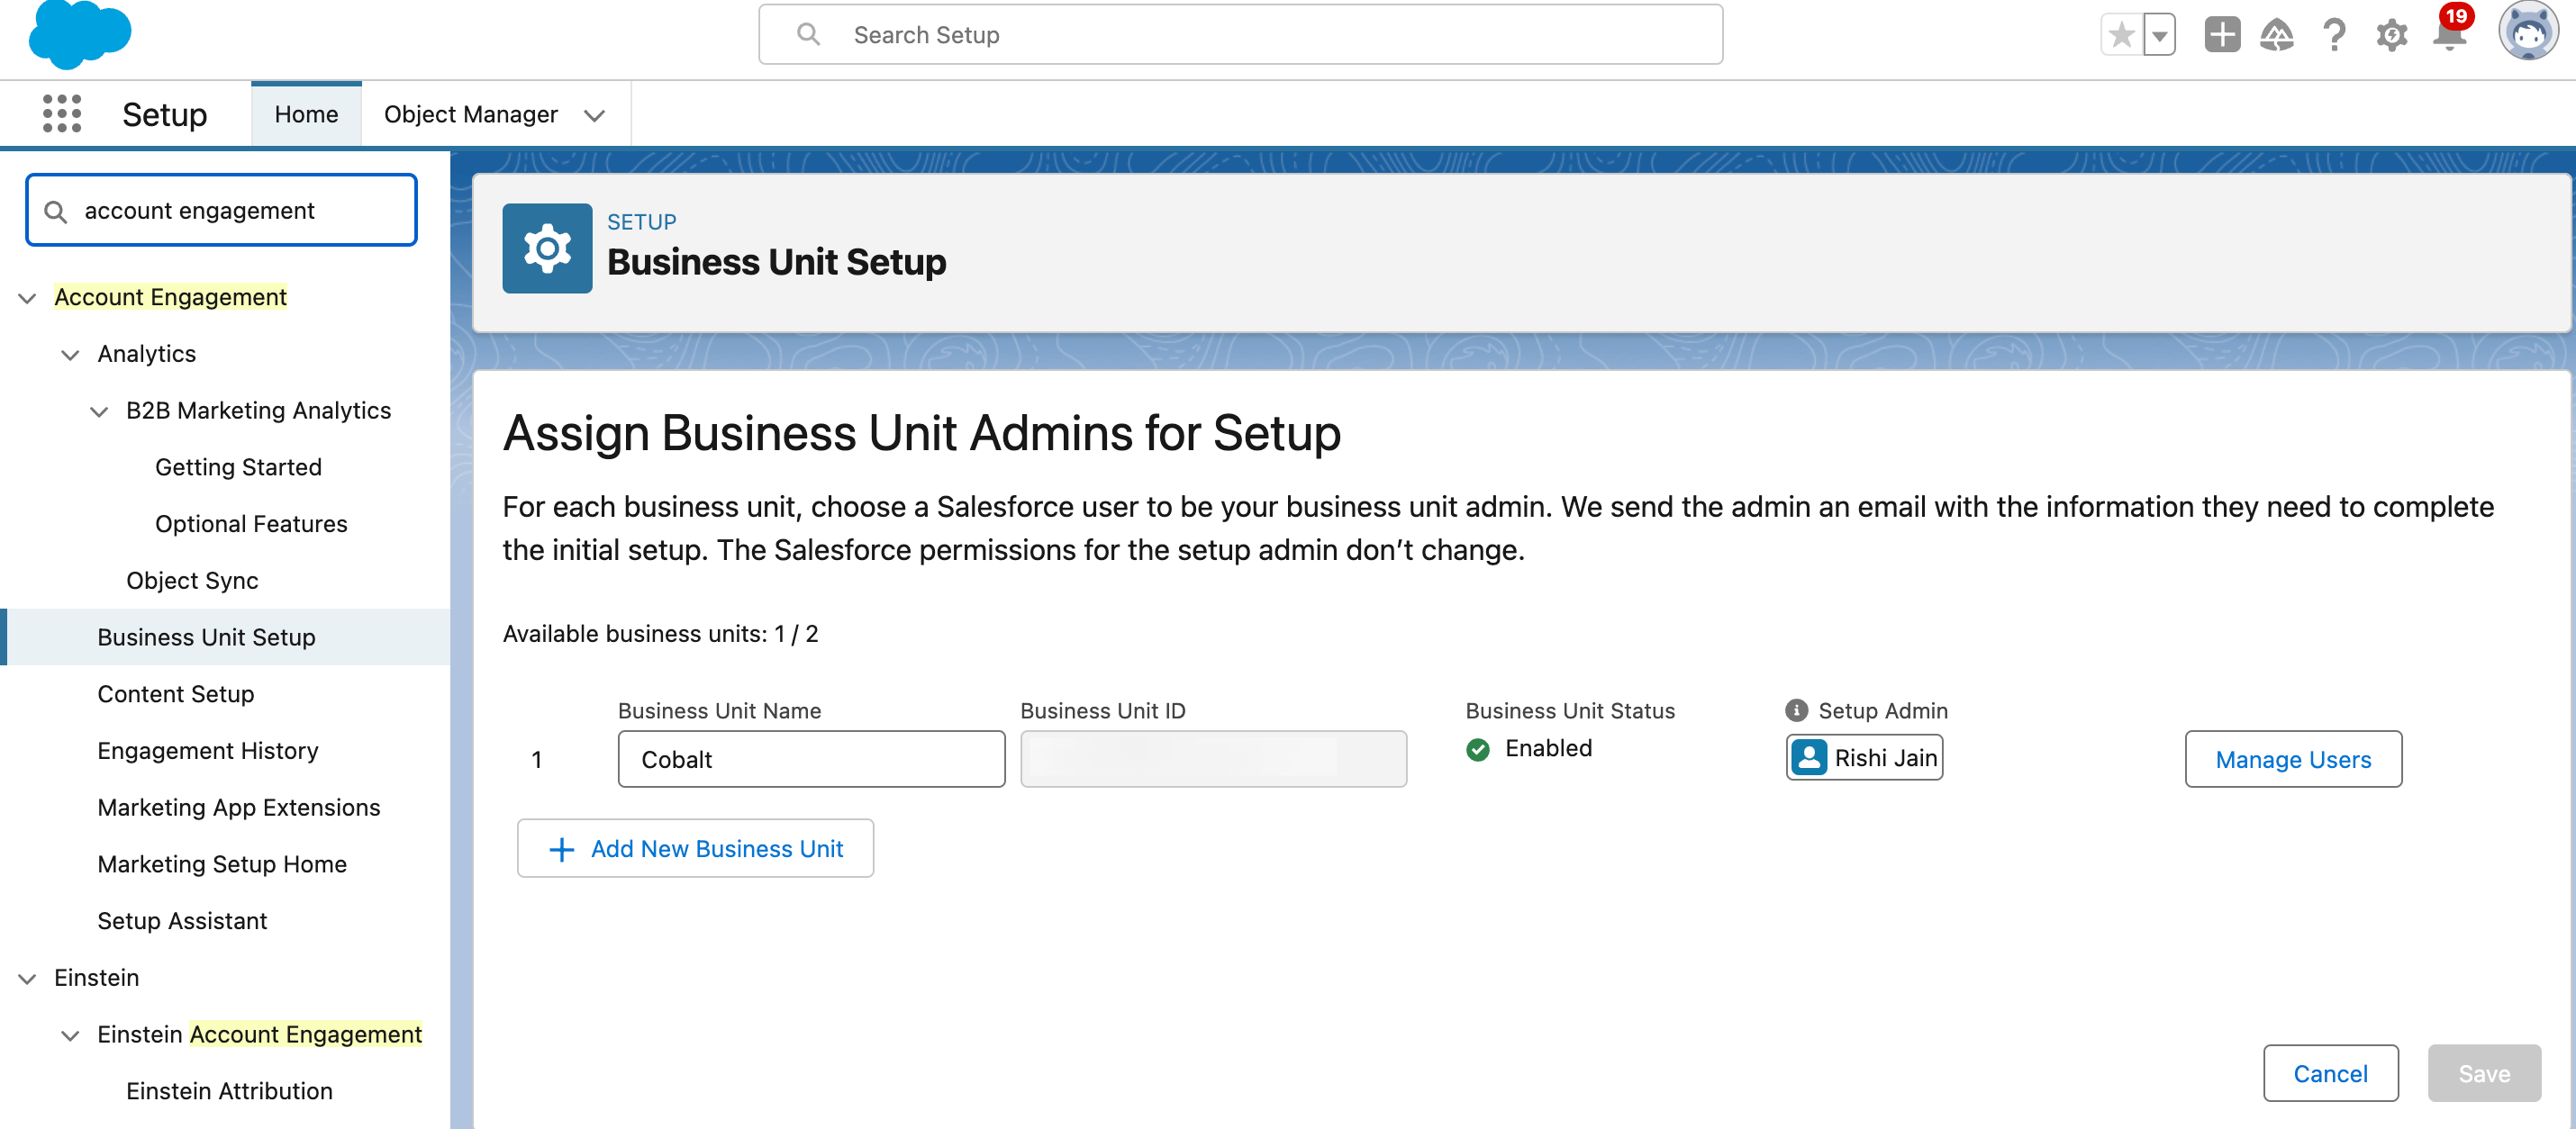
3. Setup Pardot Business Unit
- Go to
Setup> Search forAccount Engagement> Business Unit Setup > Give the Business Unit name and assign an Admin > Click onSave.
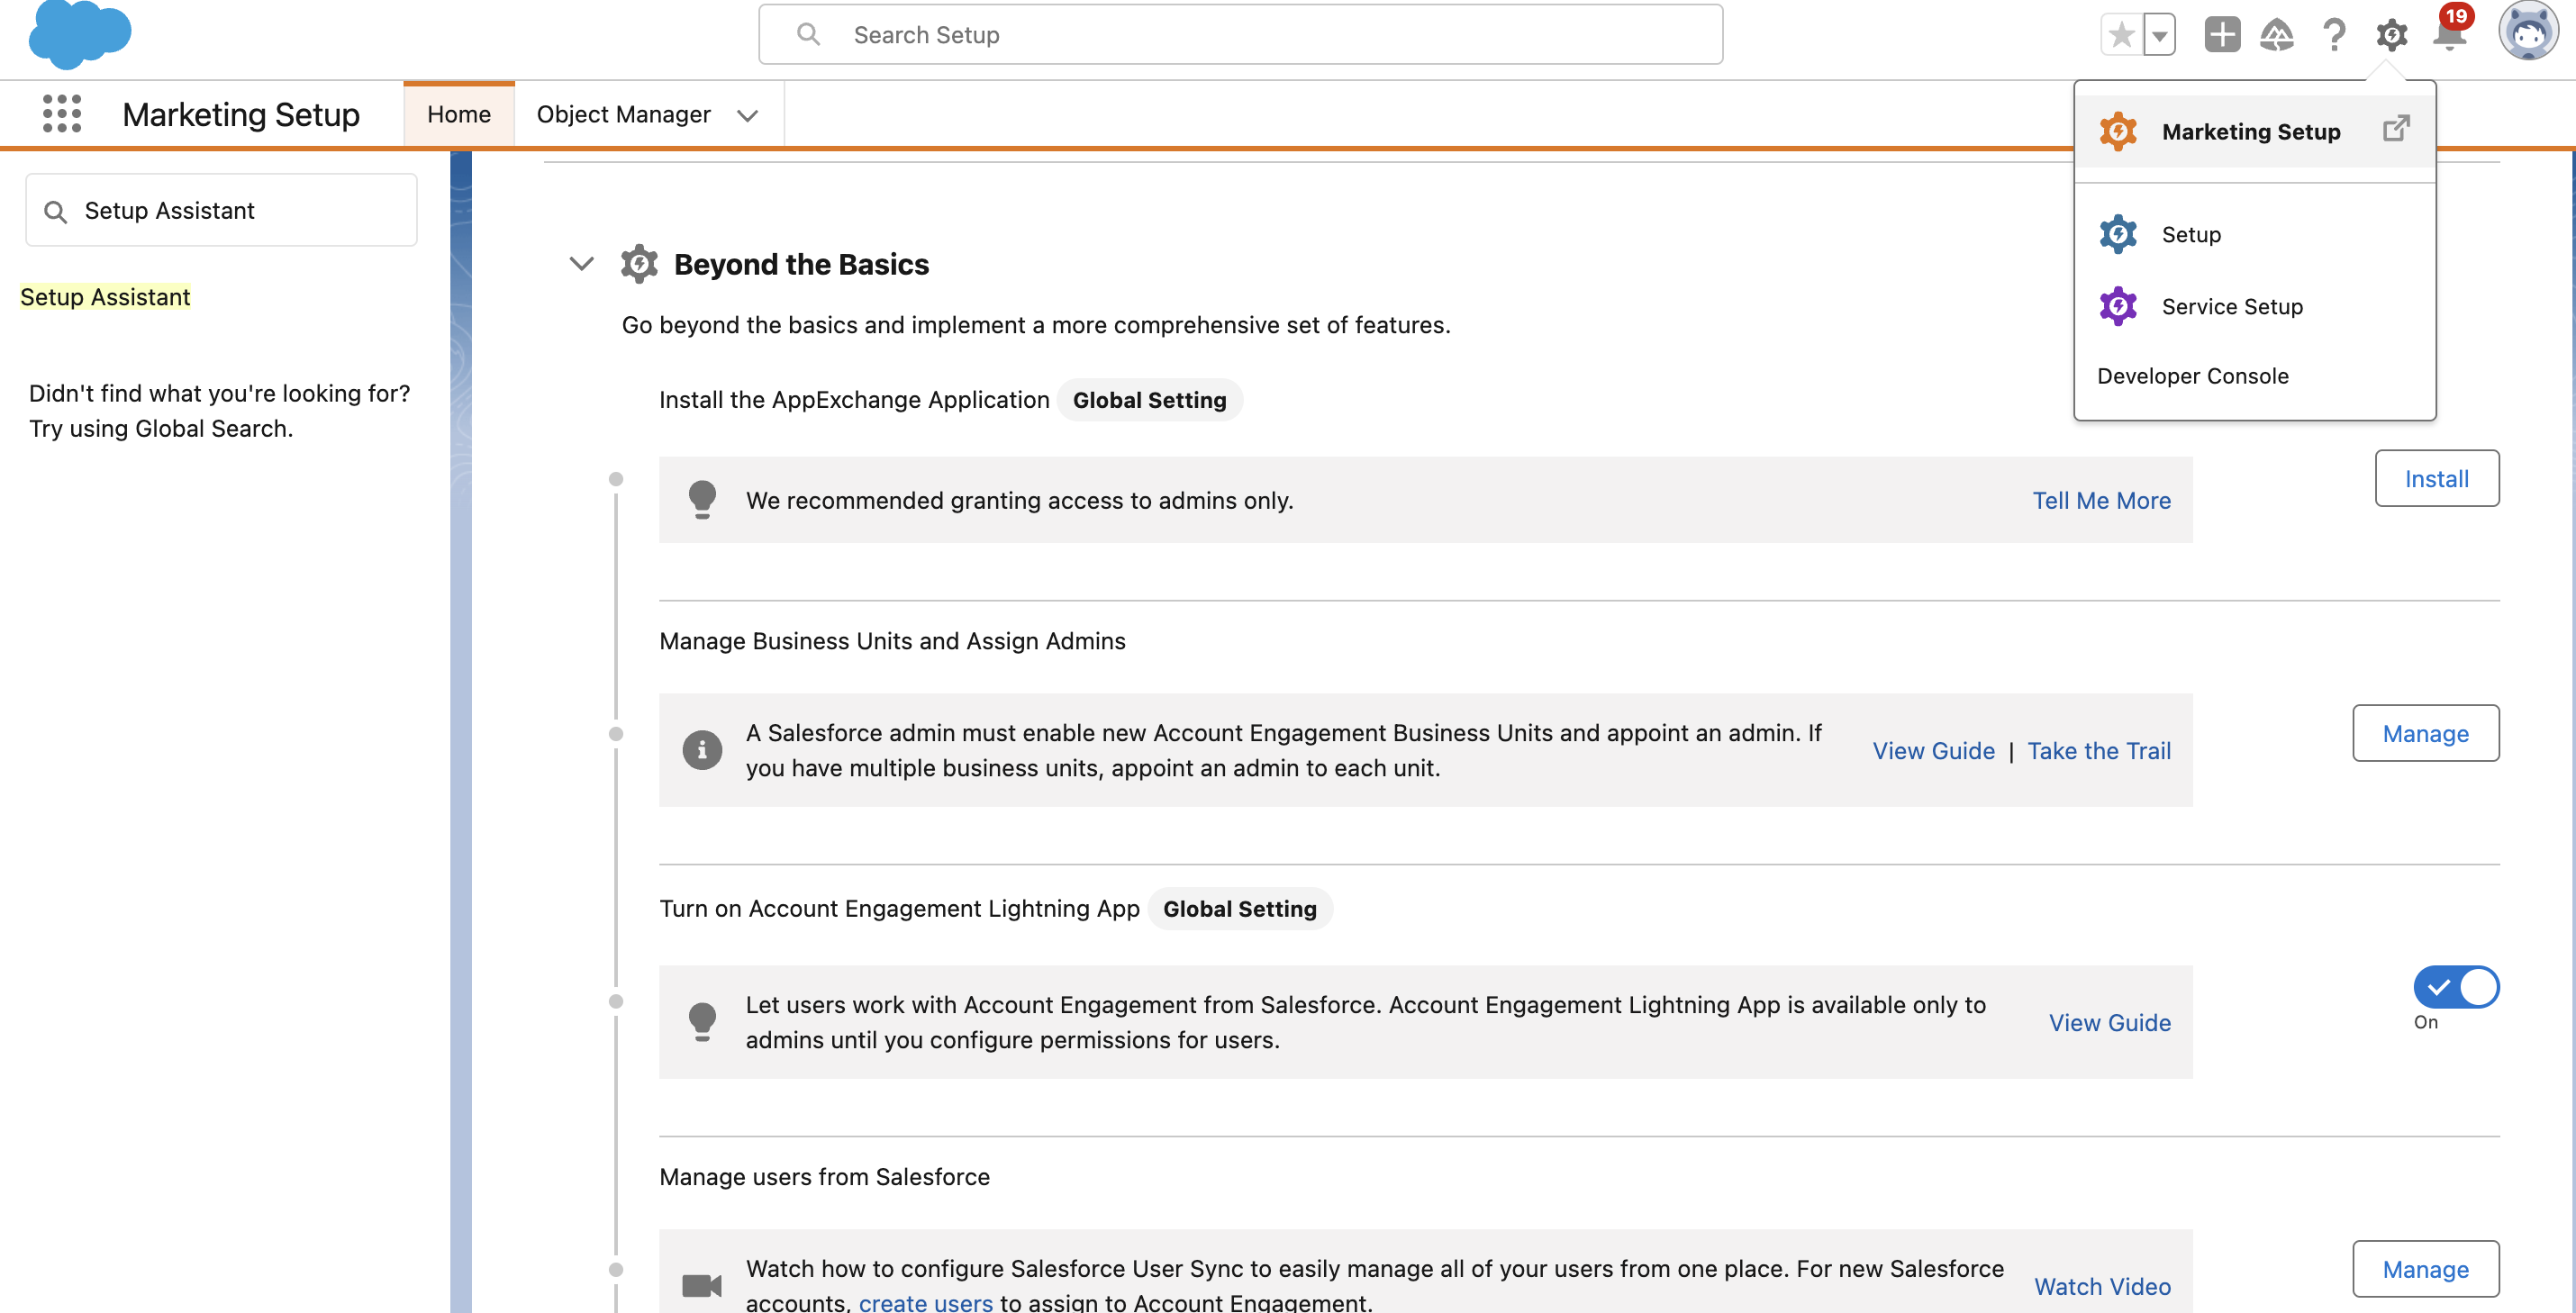
4. Enable Pardot Lightning App in Marketing Setup
- Click on the Gear icon in the top nav bar and select
Marketing Setup. - In Marketing Setup, go to
Setup Assistant>Beyond the Basics> Toggle on the Turn on Account Engagement Lightning App permission.
5. Assign Permission set
- We can assign Permission Sets to our user like CRM, Sales etc. For now, we are assigning Sales Cloud User Permission set.
- Go to
Setup>User>Permission Set> Select Sales Cloud User.

- Click on
Manage Assignments> Click onAdd Assignment> Select a User > Click onNext> Assign the user with a role.
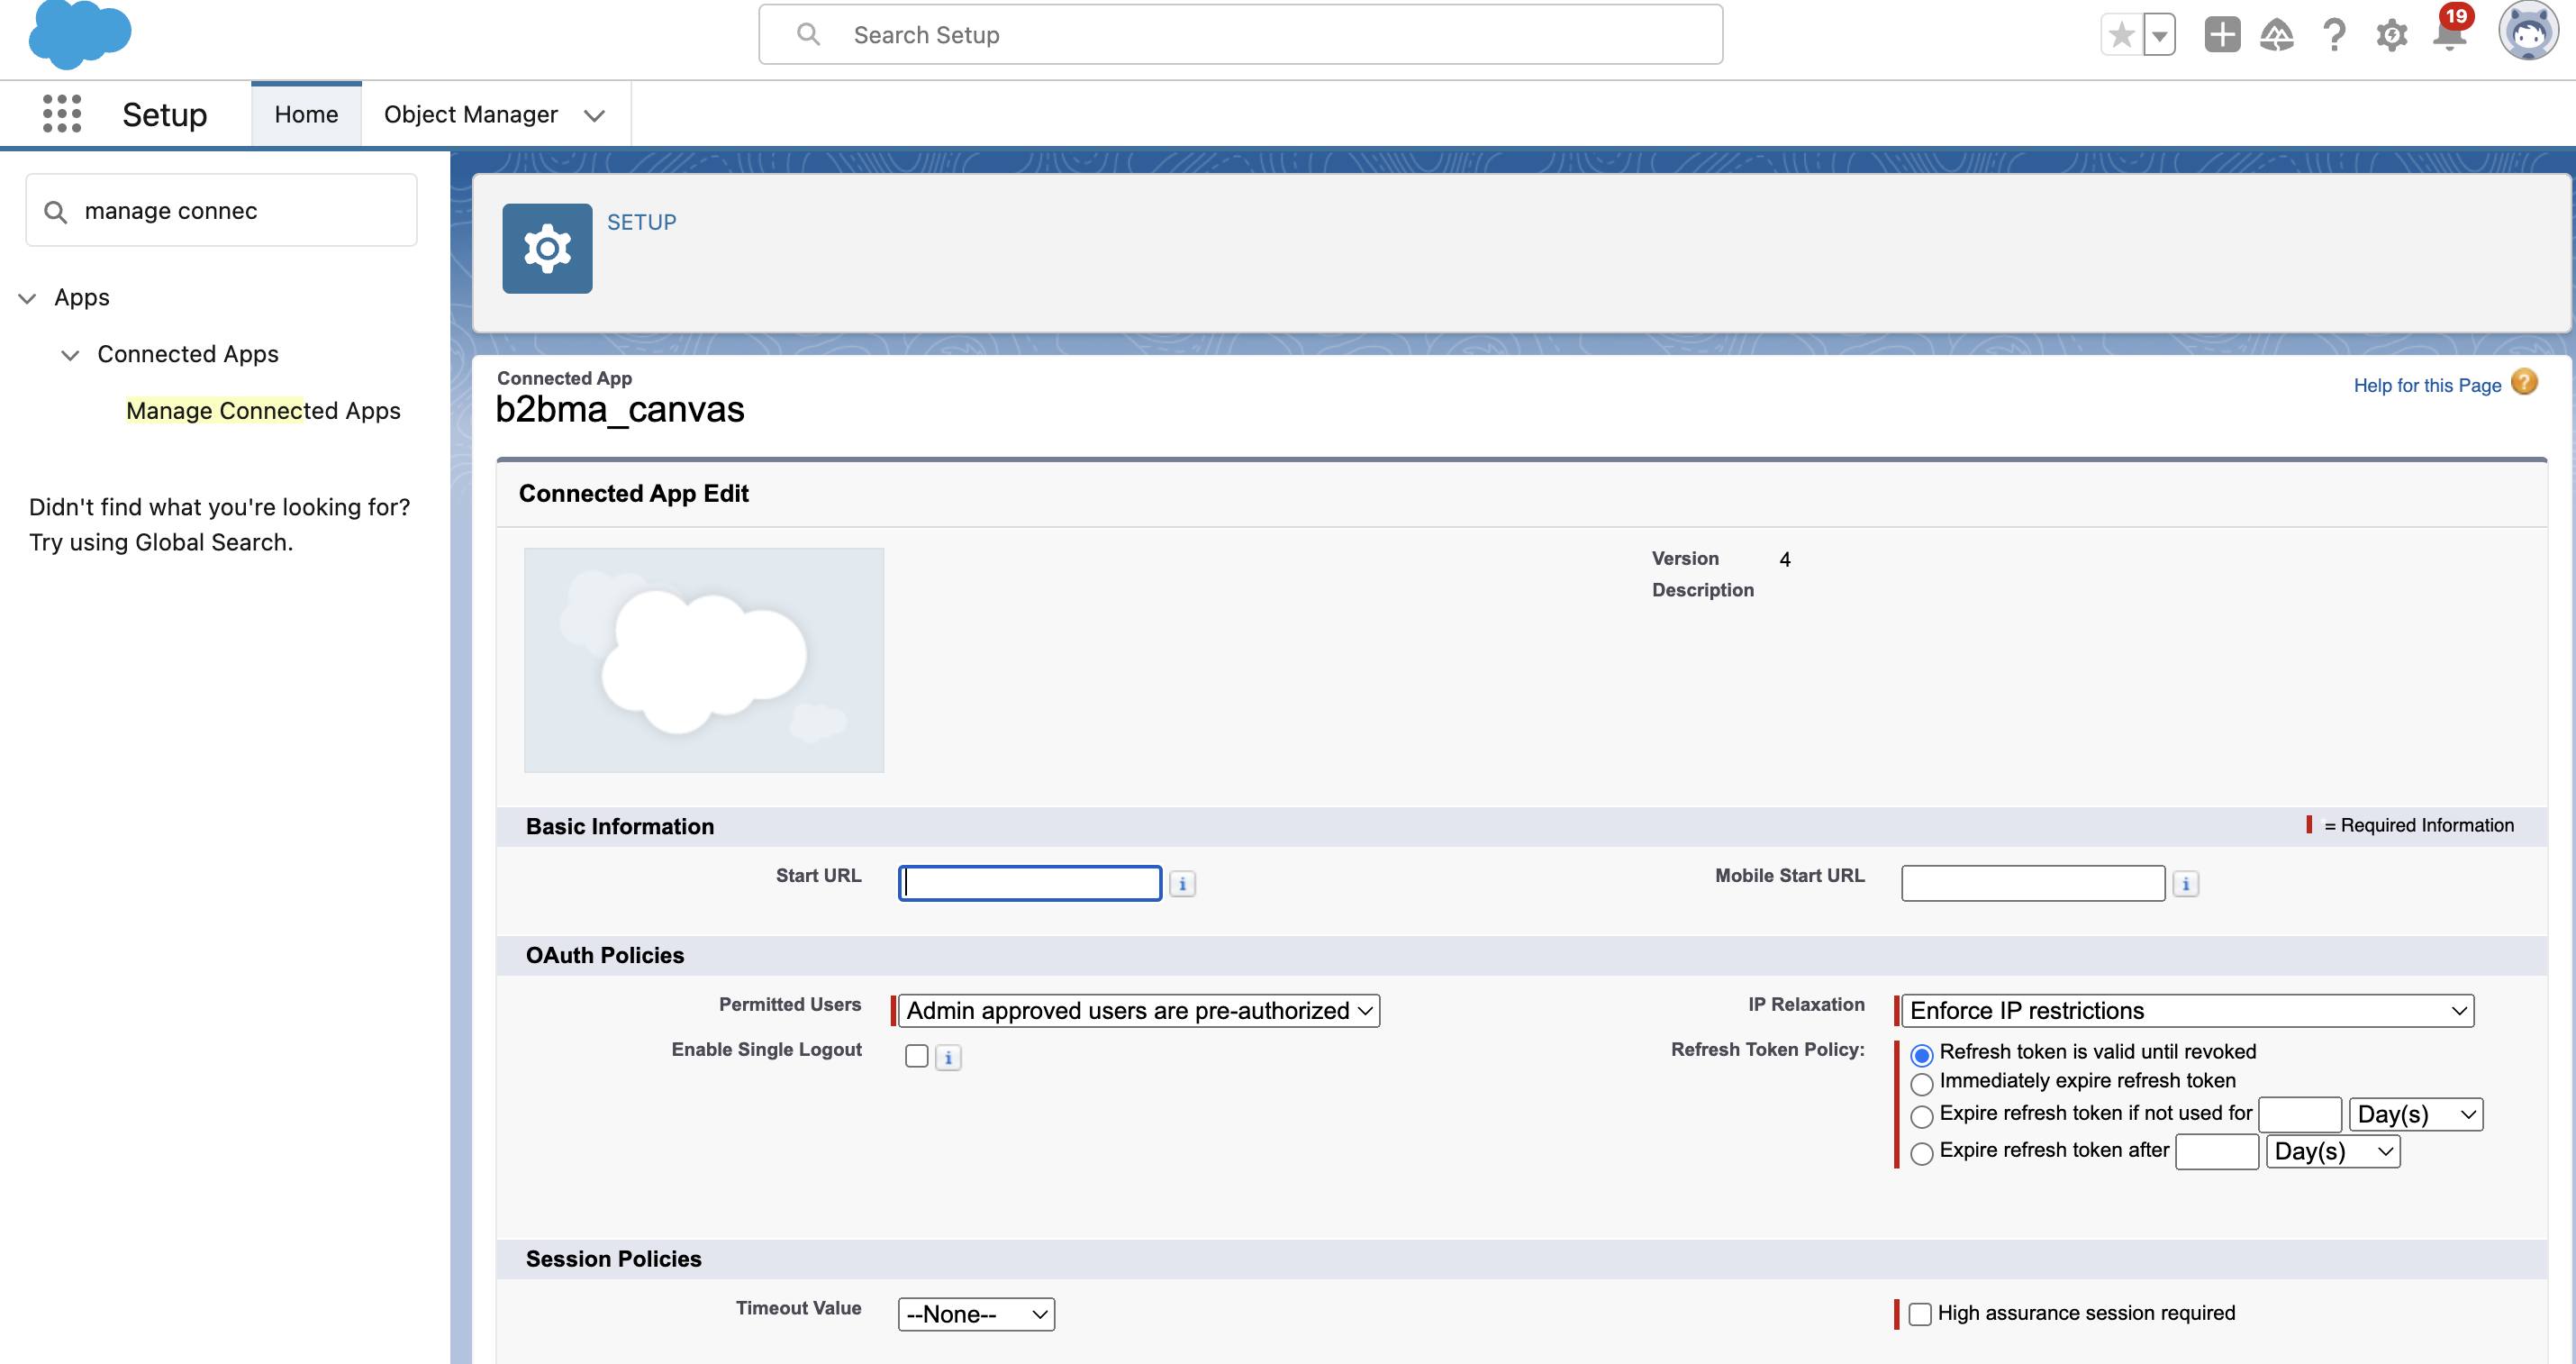
6. Pardot managed connected App settings
- Now go back to Setup by clicking on the Gear icon in the top nav bar.
- Search for
Manage Connected Apps> Click onEditin b2bma_canvas and make sure it’s configured as shown below.
7. Access your Pardot App
The Pardot App Setup is now complete and you can access it by login with Salesforce to the link below: https://pi.demo.pardot.com/You can learn about how to setup the OAuth app for Pardot here.