Developer Settings
API Proxy
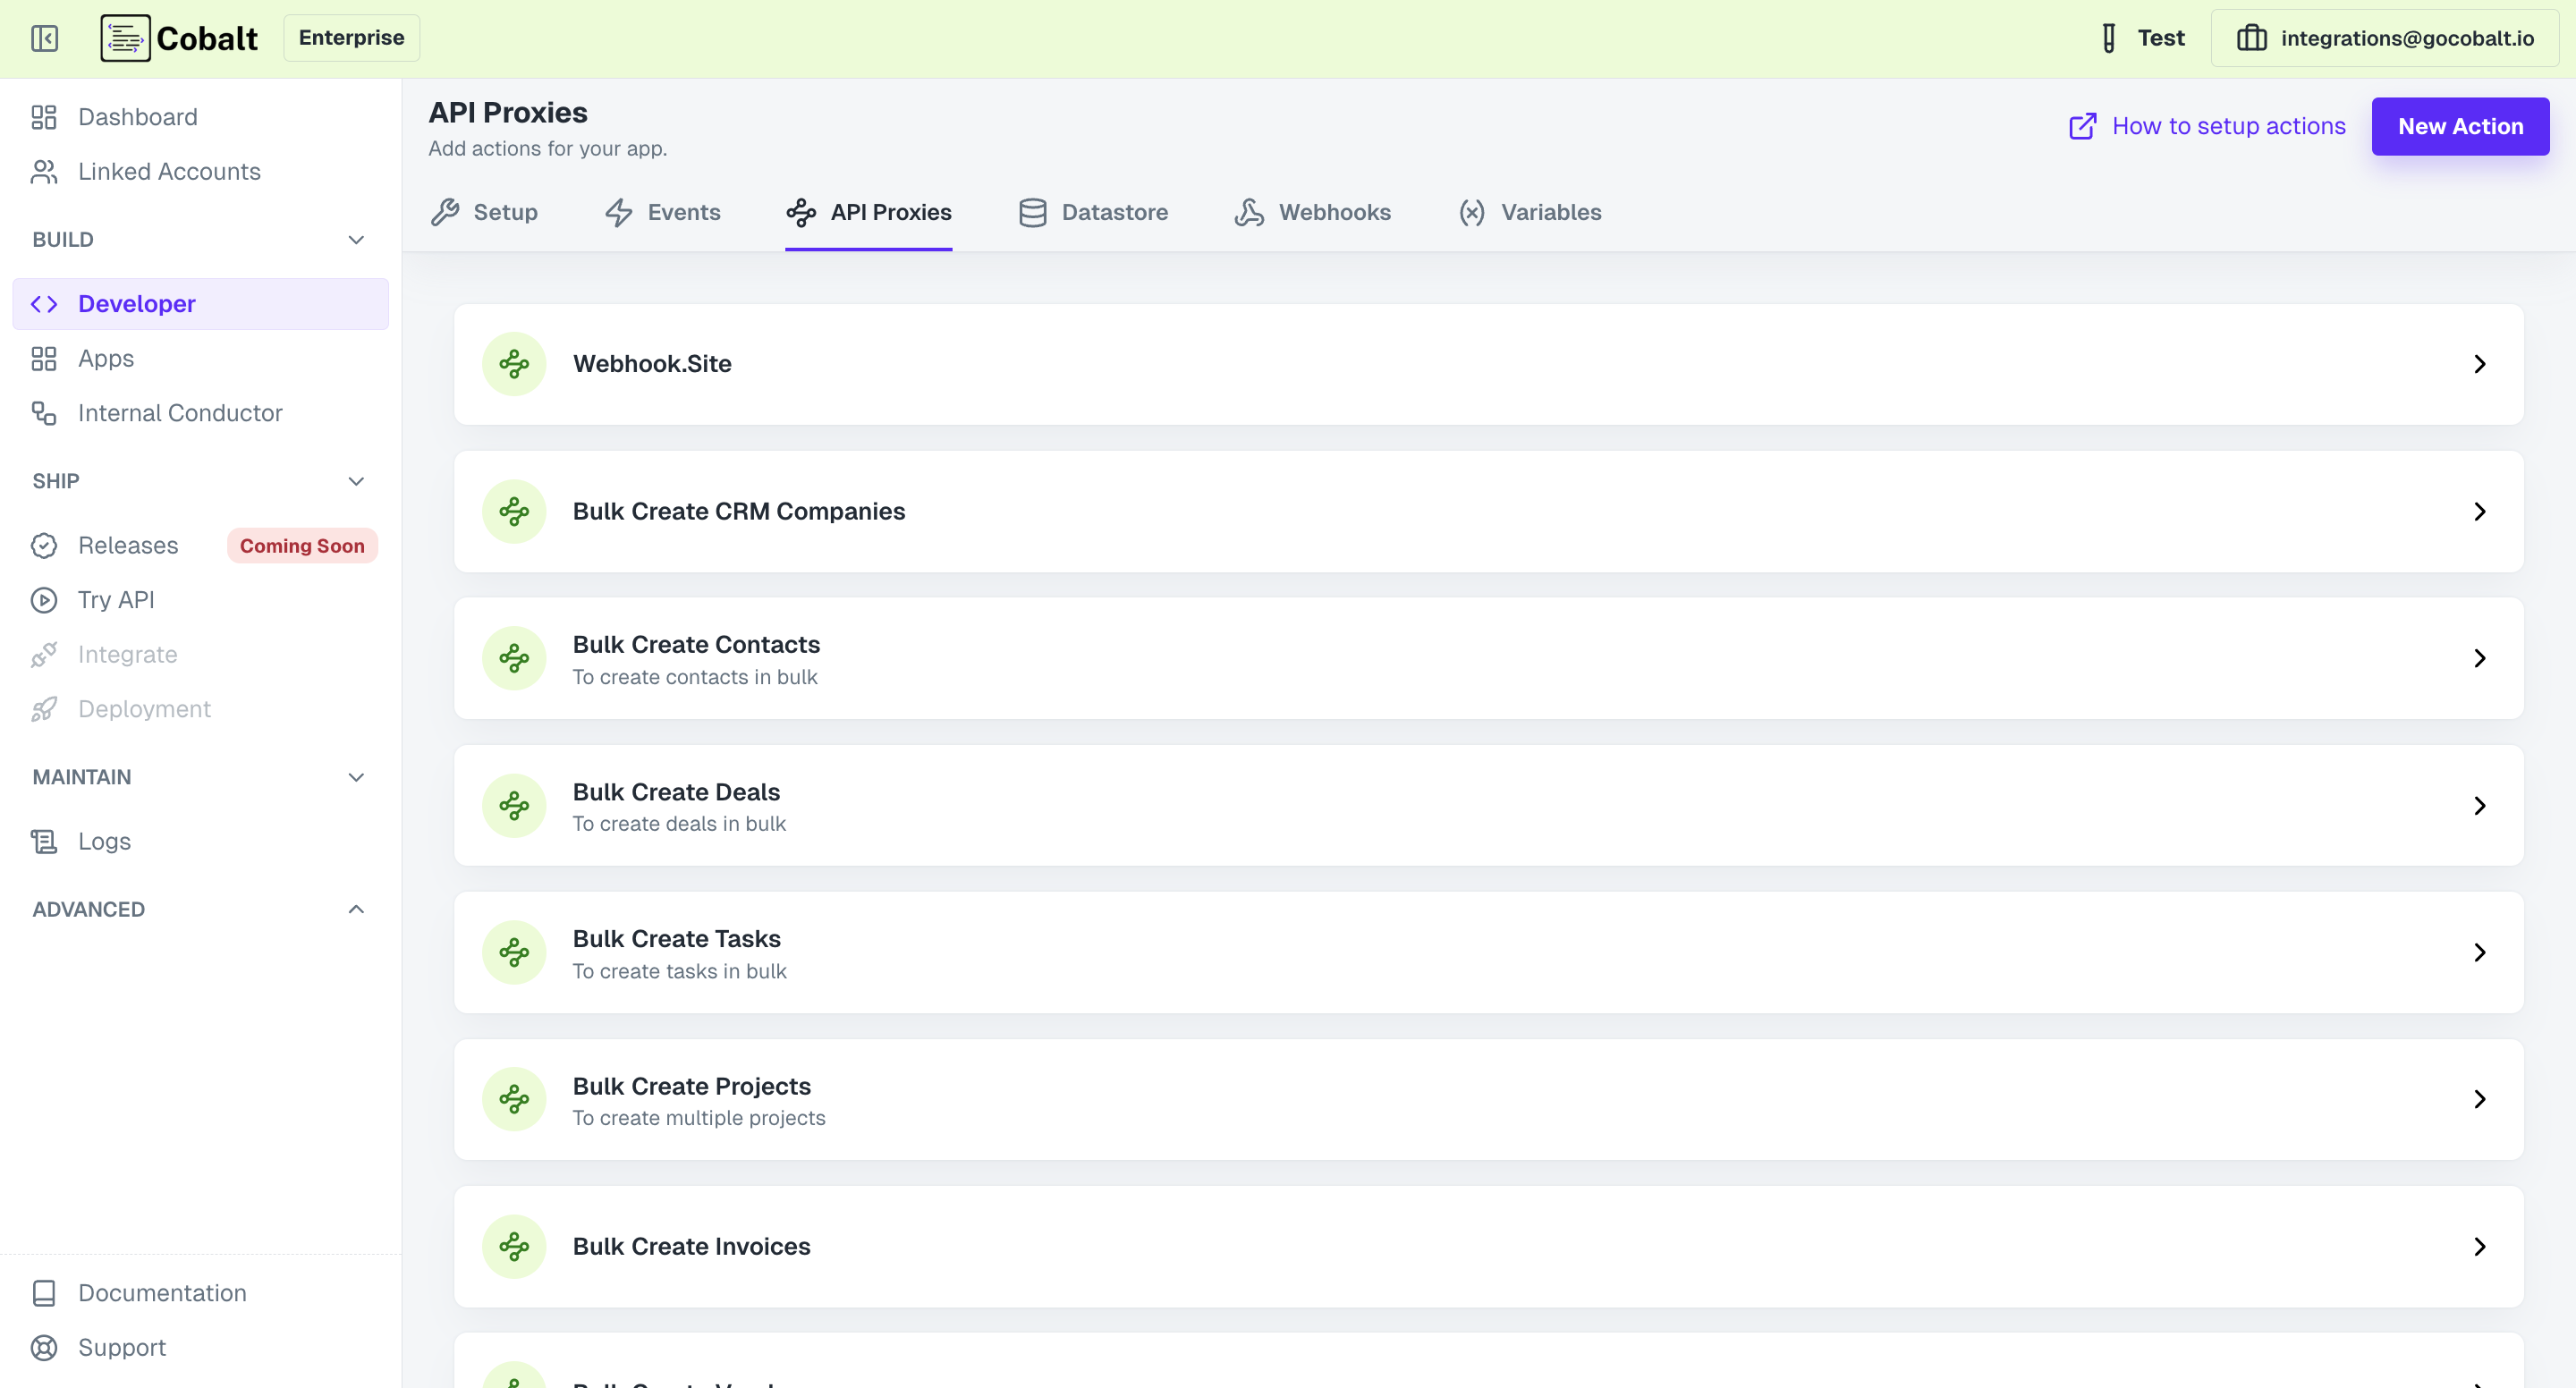
An integral aspect of Cobalt’s workflow automation is the ability to execute specific actions in response to triggers. These actions, also referred to as API Proxies or Custom Actions, allows your organization to integrate their services better with the workflows in Cobalt. These actions serve as the building blocks for creating dynamic workflows, allowing users to automate processes and streamline operations across different applications integrated into the Cobalt ecosystem.


Creating an API Proxy
To create an API Proxy in Cobalt, the user needs to provide specific information detailing the desired behavior of the action. This includes the following steps:1. Create Action
- Click on the
New Actionbutton and provide aNameandDescriptionfor the API Proxy. - Click on the
Create Actionbutton. - The API Proxy is created and the next step will be to configure it according to your needs.

2. Configuring the API Proxy
While configuring an API Proxy, there are 3 options that can be used to configure and make changes. TheBasic Information option can be used to update the name or the description of the API proxy.
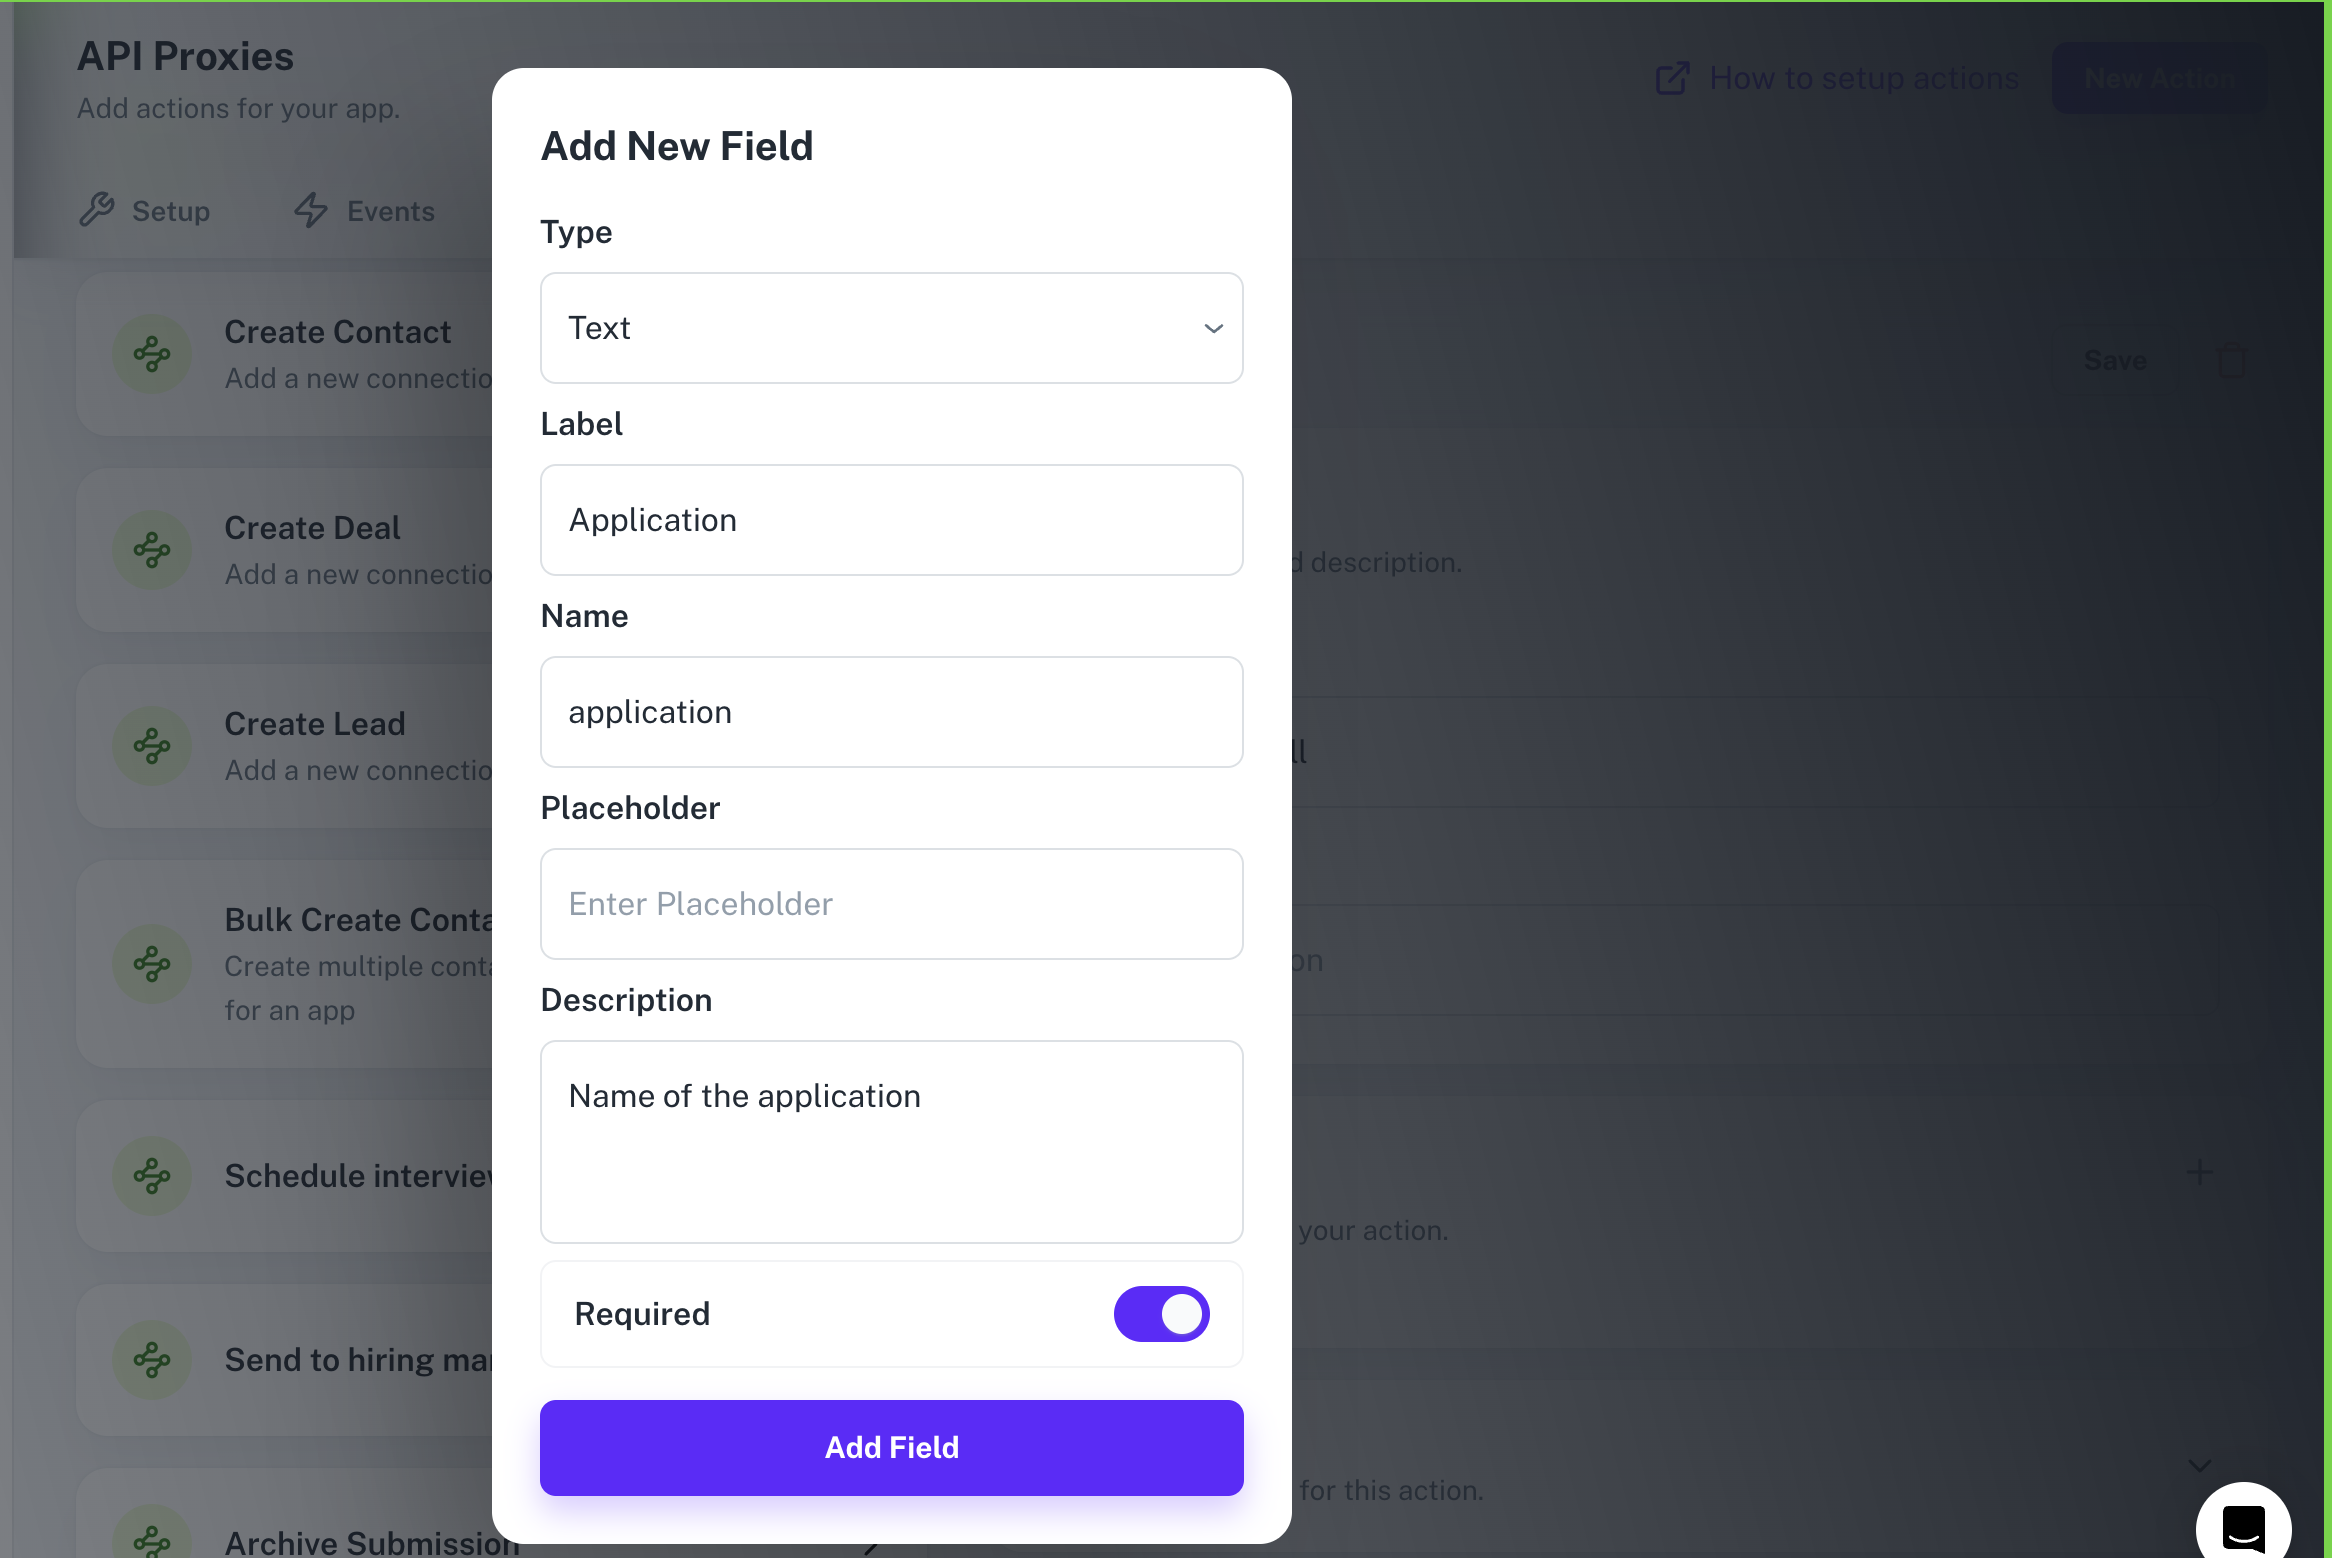
Fields tab allows you to add and update fields for your Custom Action. These fields can be utilized to pass information between different steps within the workflow.
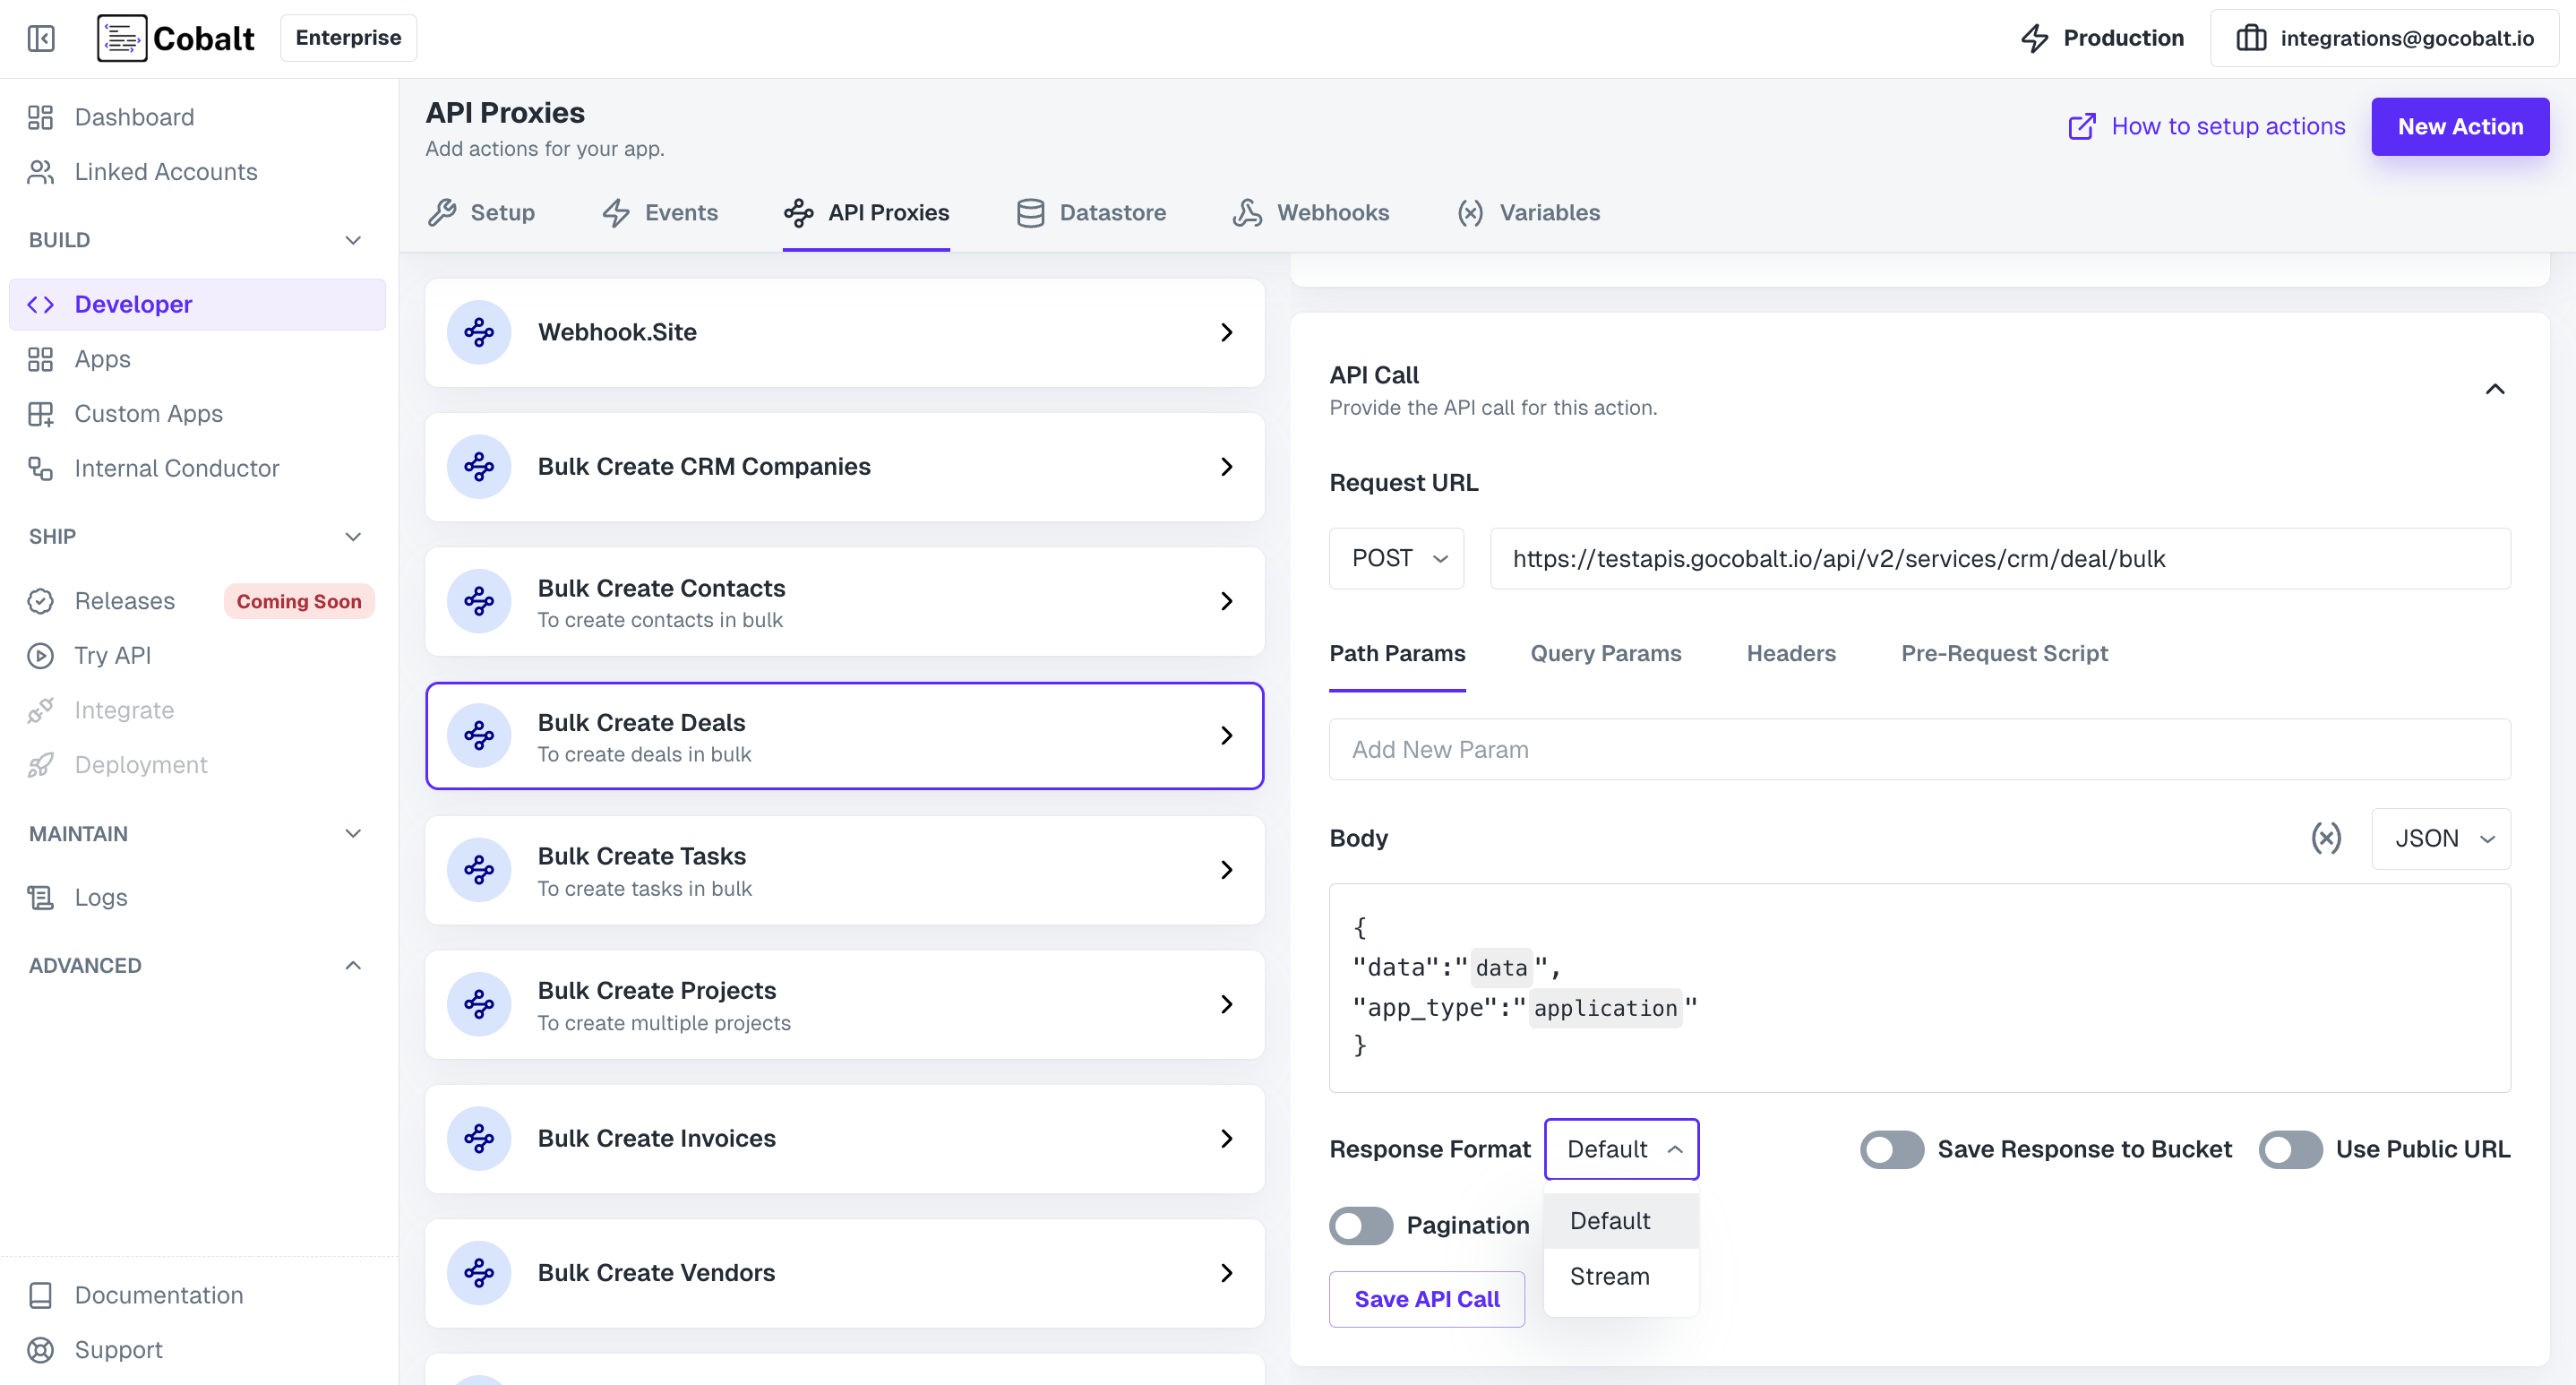
And the API Call tab is used to define the API call to be executed upon triggering the action, Specify the endpoint, HTTP method, and any required request parameters.
2.1 Adding a Field
- To add a new Field, click on the
+icon in Fields. - Provide information about the Field like
Typeof the field,Label,Placeholder,Descriptionand whether the Field is Mandatory or not and click onAdd Field.
2.2 API Call Configuration
- Click and open the
API Callsection of API Proxy. - Provide the API Request which needs to be executed in this Custom Action by providing the endpoint and selecting the Request Method.
API Request or endpoint can also have variables in it which can be added to the URL by using curly brackets.
- Also provide other details for the API like Path or Query Params, Headers and any pre-request scripts and click on
Save API Call. - You can add variables or the fields created by you in API Proxy in the Body by clicking on the
(x)icon

Utilizing the API Proxy in Workflows
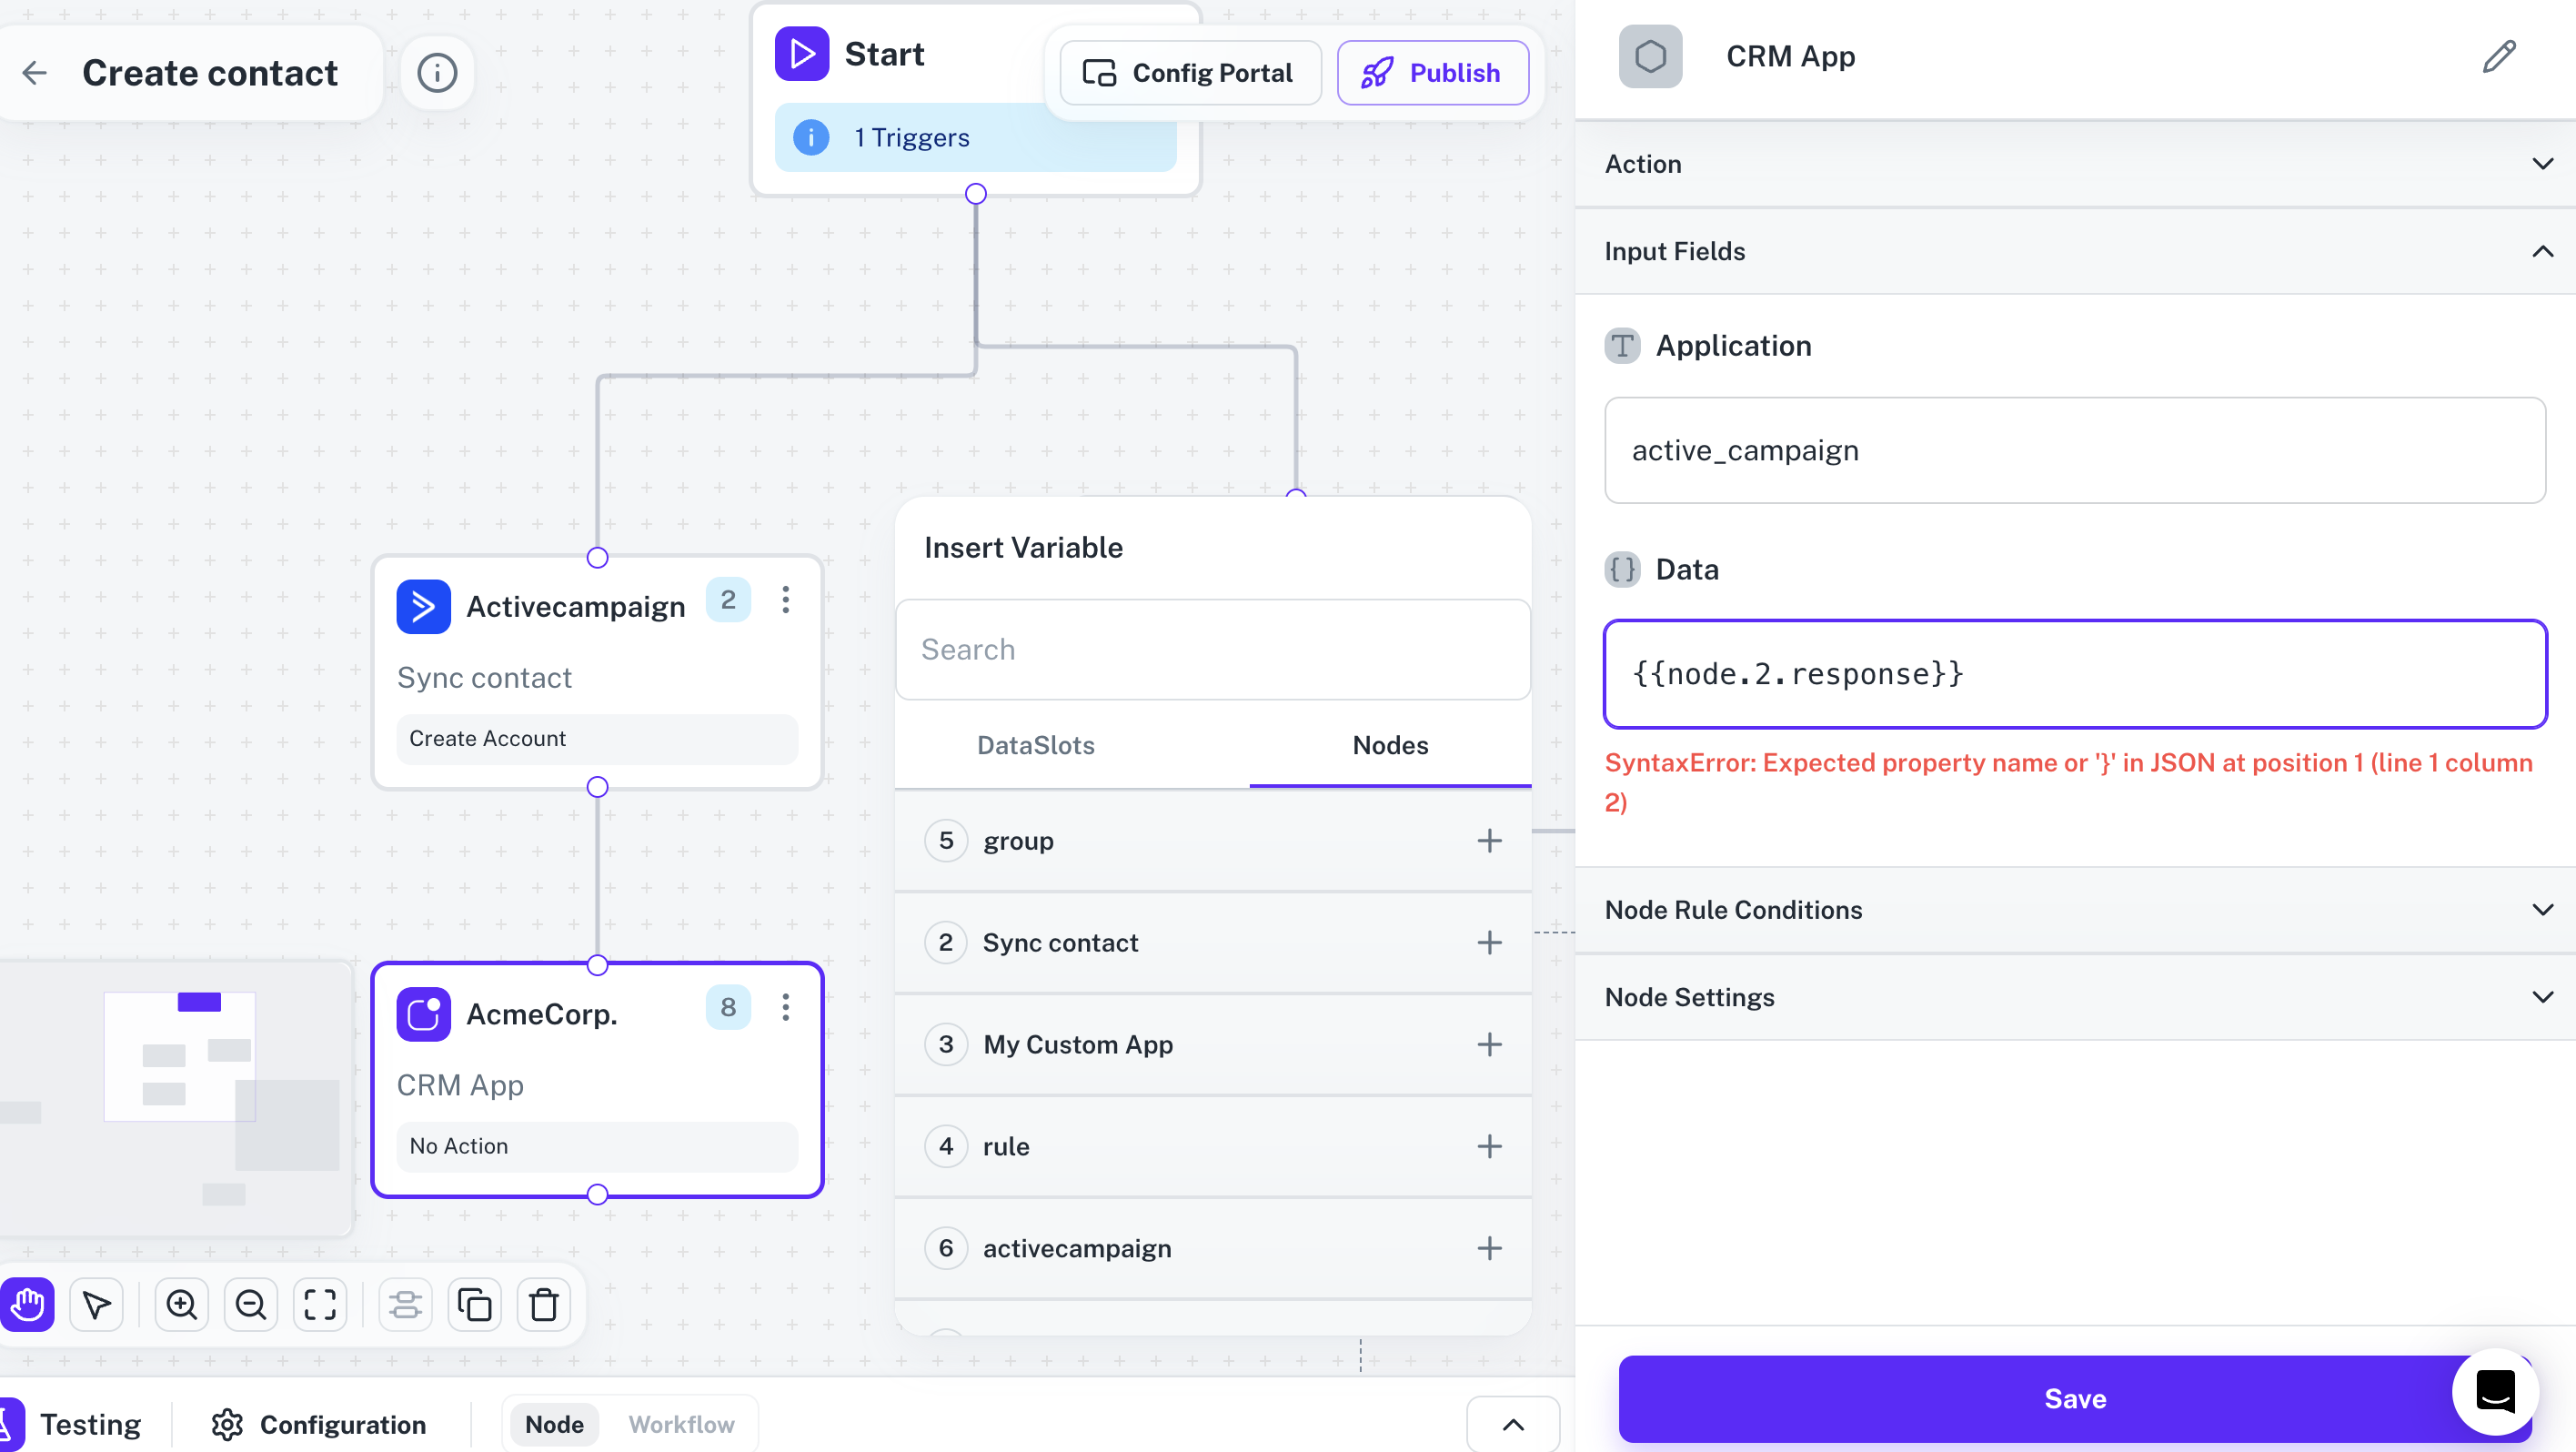
Once created, API Proxies can be used in workflows within Cobalt by using your Custom App present within Native Apps. This means that one Custom Action can be executed in several workflows. Users can define trigger conditions that initiate the execution of these actions, enabling automated responses to specific events and facilitating end-to-end process automation.