Nodes
Delay Node
The Delay node in Cobalt allows users to introduce delays in workflow execution for a specific time period. By adding a Delay node to the workflow, users can control the timing of subsequent actions.
During workflow execution, the Delay node introduces a pause in execution for the specified time period before proceeding to the next action.
If the rule condition is specified for the Delay node and it is met, then the workflow will execute as per the defined delay duration else the Delay node will be skipped.
Delay Node Actions
The Delay node offers two types of actions:Wait for
Wait for
Specifies that the workflow should wait for the specified duration before proceeding.
Wait till
Wait till
Specifies that the workflow should wait until the specified time period is reached before proceeding. Wait Till has 2 additional Input fields,
Before or After Base Date and the Base Date field.Steps to Use Delay Node
To incorporate a Delay node into a workflow, follow these steps:1
Create Workflow
Begin by navigating to the respective app and creating a new workflow. Add an event and publish the workflow to activate it.
Learn more about Workflows here.
2
Add Delay Node
Within the workflow, add a Delay node as per your requirement along with other nodes to define the workflow flow.
3
Configure Delay Action
In the Delay node, select the action type as either Wait for or Wait till depending on the desired behavior. Specify the duration of the delay by entering the desired values for Days, Hours, Minutes, and Seconds. By default, the values will be set as 0 for all the input fields.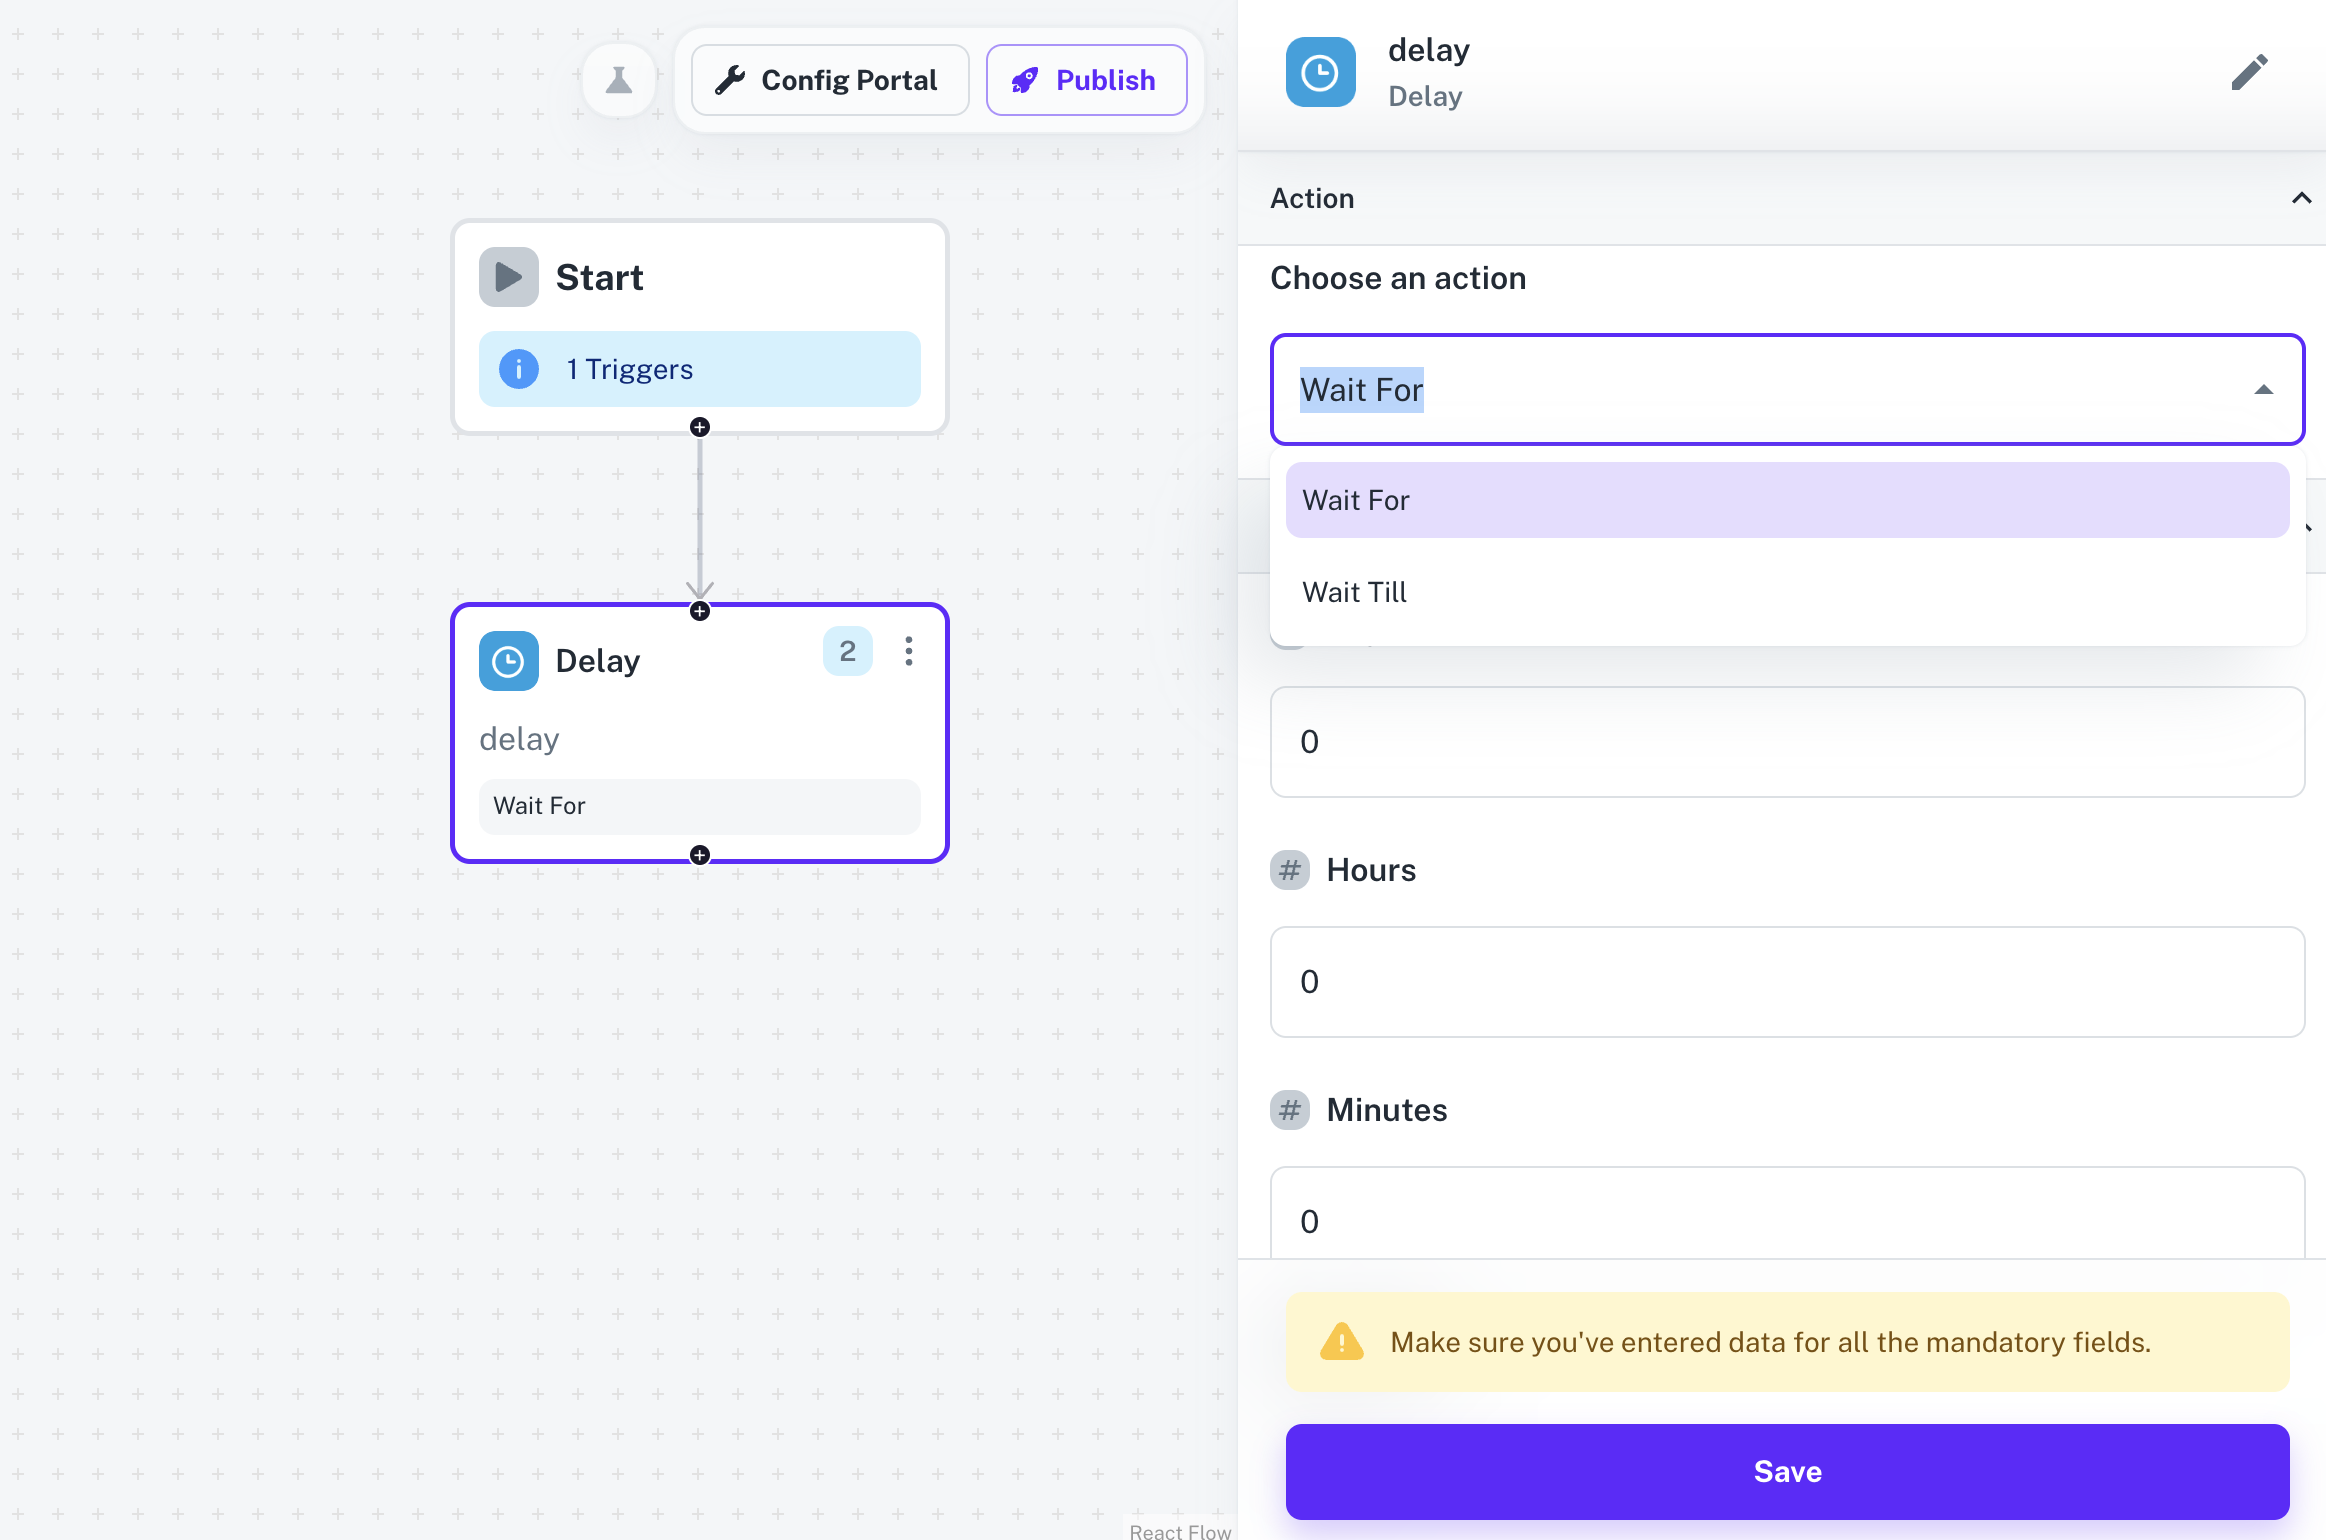
Currently Cobalt supports only integral values for the Input fields in Delay Node.